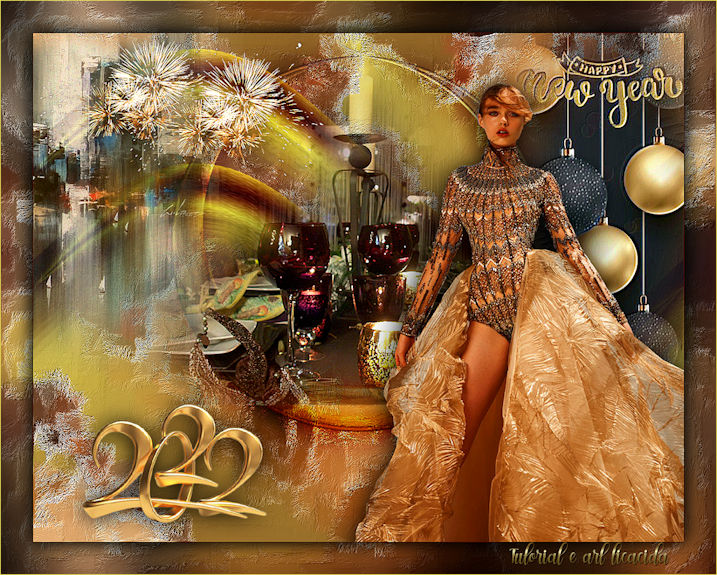
"Happy New
Year_2022"

Material Aqui
Tubes : callitubes_439\ Paysage misted jewel 009
Callitubes-41natal\ nikita_noel\
SuizaBella_Ref_AG-001700 \ divers-nikita
Plugins
Paper
Textures.
Plugin
Nick Software
Plugin
MuRa's Meister
Foreground #eee35d \ Background #440001
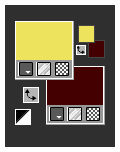
1-Abrir uma nova imagem de 1024 x 800 .
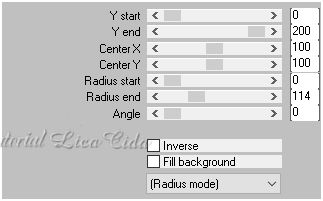
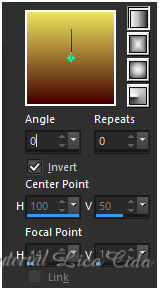
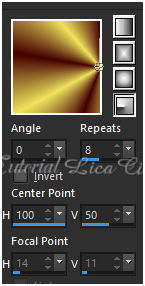
Preencher com o
gradiente formado pelas cores configuradas acima.
Radial. Angle 0
, Repeats 8. Invert desmarcado. CP\ H 100 \ V 50 .
2-Layers Duplicate.
Image Mirror Horizontal.
Blende Mode Soft
Light . Layers\ Merge Down.
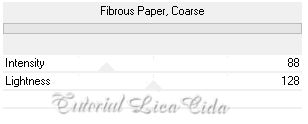
3-Filters Unlimited
2.0_ Paper Textures.
_Layers Duplicate. *Tirar
a visibilidade da raster1.
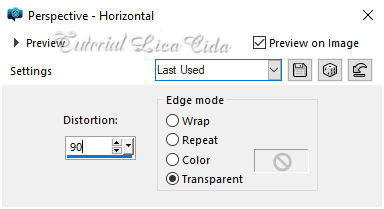
4- Effects\
Geometric Effects\ Perspective - Horizontal.
_Image Mirror
Horizontal. Repetir o
Perspective - Horizontal ( print acima).
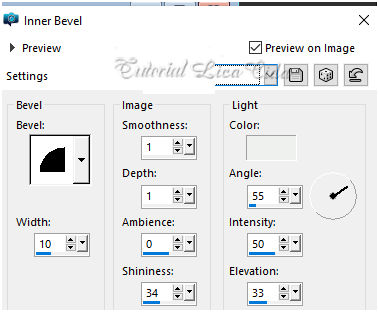
5-Effects\ 3D
Effects\ Inner Bevel .
_Layers
Duplicate .
6-Effects\ Image Effects\ Offset.
0 \ 180 ( custom e transparentes marcados).
_Layers\ Merge Down.
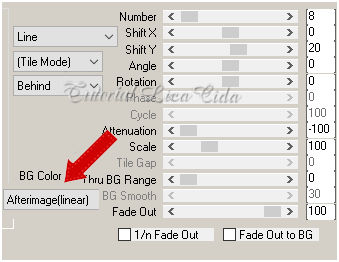
7-Plugin MuRa's Meister\ Copies.
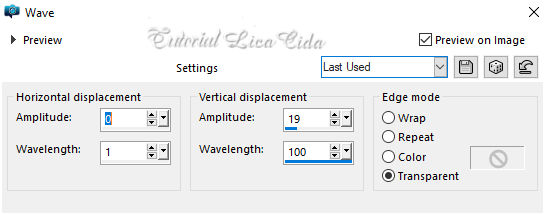
8-Effects\ Distortion Effects\ Wave.
*Abrir a
visibilidade da raster1. Ativá-la.
9-Selections
\Select All .Edit Copy no Paysage misted jewel 009\ Edit Paste Into
Selection .
Selections\ Select none.
( observe que usei o misted de uma cidade e
claro)
_Adjust \ Sharpness\ Sharpen More.
10-Effects\ Image Effects\ Seamless
Tiling: DEFAULT.
_Adjust\Blur\ Ga
_Adjust\Blur\ Gaussian
Blur...R;30,00.
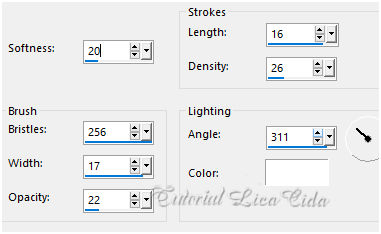
11-Effects\ Art
Media Effects\ Brush Strokes ...-
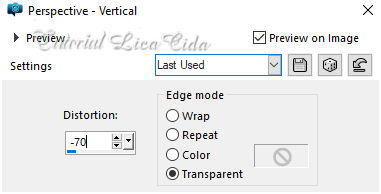
12-Effects\ Geometric Effects\
Perspective - Vertical.
*Ativar a régua_descer o efeito a
600pxls. Use a ferramenta Pick Tool.
_Selecionar a parte externa do efeito.
Use a ferramenta Magic Wand _Default. Invert.
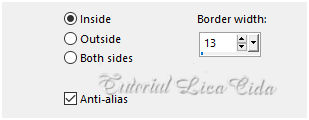
13-Selections \Modify \Select Selection Borders.
14 -Repetir o Inner Bevel _print ítem 5.
Repetir . Selections\ Select none.
15-Plugin MuRa' Meister\ Pole Transform.
_Image\ Resize
80% 
16-Effects\ Image Effects\ Offset.
0
\ 60 ( custom e transparentes marcados).
17-New
Layers\ Send to Bottom.
_ Preencher
com o gradiente formado pelas cores configuradas acima.
Linear.
Angle 0 \ Repeats 0 Invert marcado.
18-
( Vamos usar o tube principal )
__Selections
\Select All .Edit Copy no callitubes_439\ Edit
Paste Into Selection . Selections\ Select none.
_Adjust \ Sharpness\ Sharpen.
19-Effects\ Image Effects\ Seamless Tiling: DEFAULT.
20-Effects\ Art
Media Effects\ Brush Strokes ...(print ítem 11).
_*Raster1 \ Layers
Duplicate .
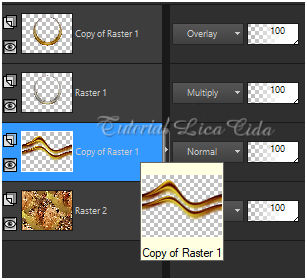
21-Plugin
Nick Software\ Color EfexPro 3.0\Bi-Color User Defined_DEFAULT.
_Blends no print.
22- Layer superior , usar acima da Raster2.
_Effects\ Distortion Effects\ Pinch S(%):100.
_Para todo efeito usei no final do tutorial
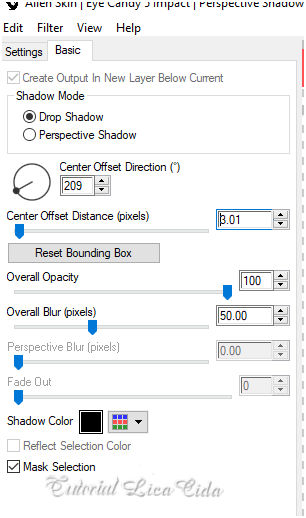
23-Plugin Alien
Skin\ Eye Candy 5 Impact \ Perspective Shadow ( ou outro do seu gosto)
24- Ativar a Layer superior.
_Edit Copy no nikita_noel \Paste As New Layer.
25-Effects\
Image Effects\ Offset.
0 \ 102 (
custom e transparentes marcados).
_Adjust \ Sharpness\ Sharpen More.
Layers Duplicate .
Layers\ Merge Down.
26-Edit Copy no SuizaBella_Ref_AG-001700
\Paste As New Layer.
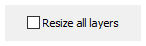
Resize 80%

Layers Duplicate .
Layers\ Merge Down.
Emboss3. Posicione como modelo
27-Edit Copy no callitubes_439 \Paste As
New Layer.
Resize 80%
_Adjust \ Sharpness\ Sharpen. Posicione.
28- New layers.
_Ativar o Clone Brush( C) seguindo
configurações. Clone o mesmo misted ( número 9) e passe no lado esquerdo
superior( usei a parte mais colorida).
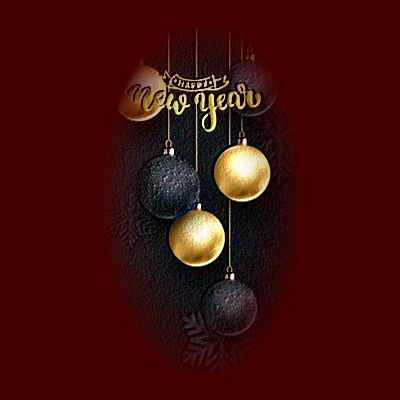
29-Edit Copy no divers-nikita \Paste As New
Layer.
Resize 60% + 80%

Layers Duplicate .
Layers\ Merge Down.
Posicione como modelo
30-Edit Copy no Callitubes-41natal \Paste
As New Layer.
Resize 80%

Posicione como modelo.
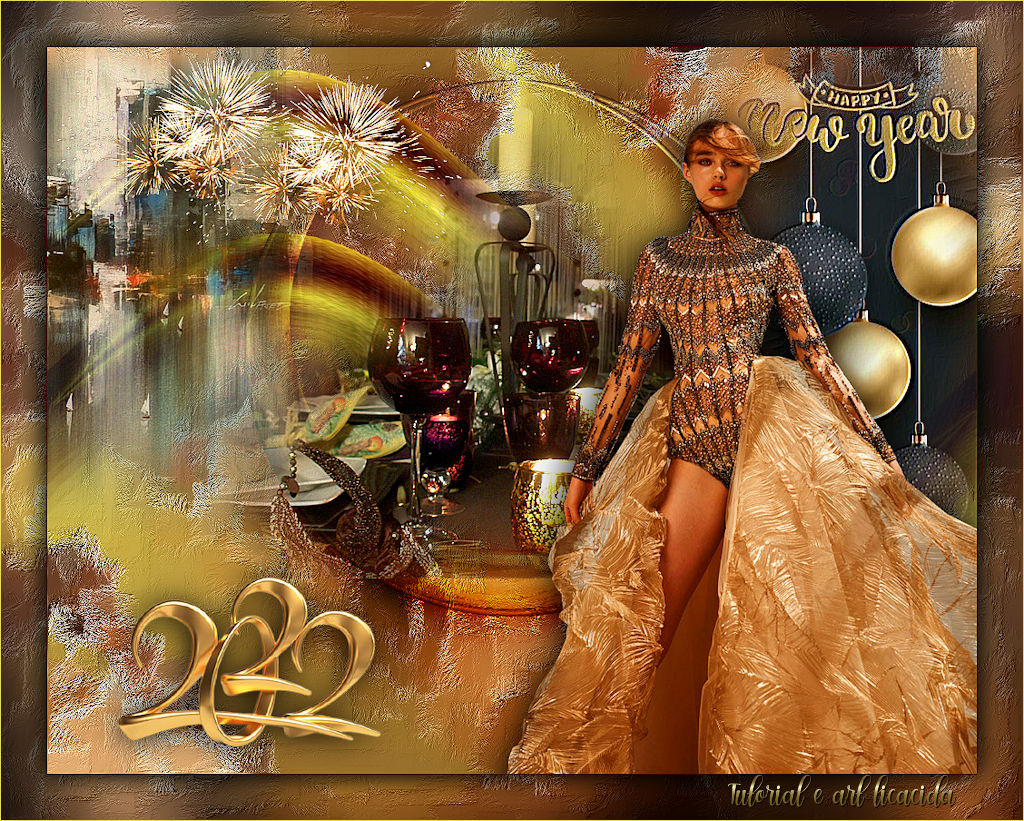
Borders
Image \ Add Borders \ 1 pxl color =#back .
Edit \ Copy.
Selections \ Select All. Image \ Add
Borders\ 50 pxls color =#ffffff.
Selections |\ Invert.
Edit \ Paste Into Selection.
Adjust\Blur\
Gaussian Blur...R;30,00.
Effects\ Art Media
Effects\ Brush Strokes ( print ítem 11 ).
Plugin Graphics Plus \ Cross
Shadow_Default.
Selections |\ Invert.
Effects \ 3D Effects \ Drop Shadow: 0\
0\ 80\ 40,00 . Color =#000000
Selections \ Select None.
Image \ Add Borders \ 1 pxl color =#fore.
Aplicar a Marca
D'agua.
Assine e salve.
Aparecida \ licacida , dezembro de 2021.
Espero que gostem.
Obrigada!