|
|
|
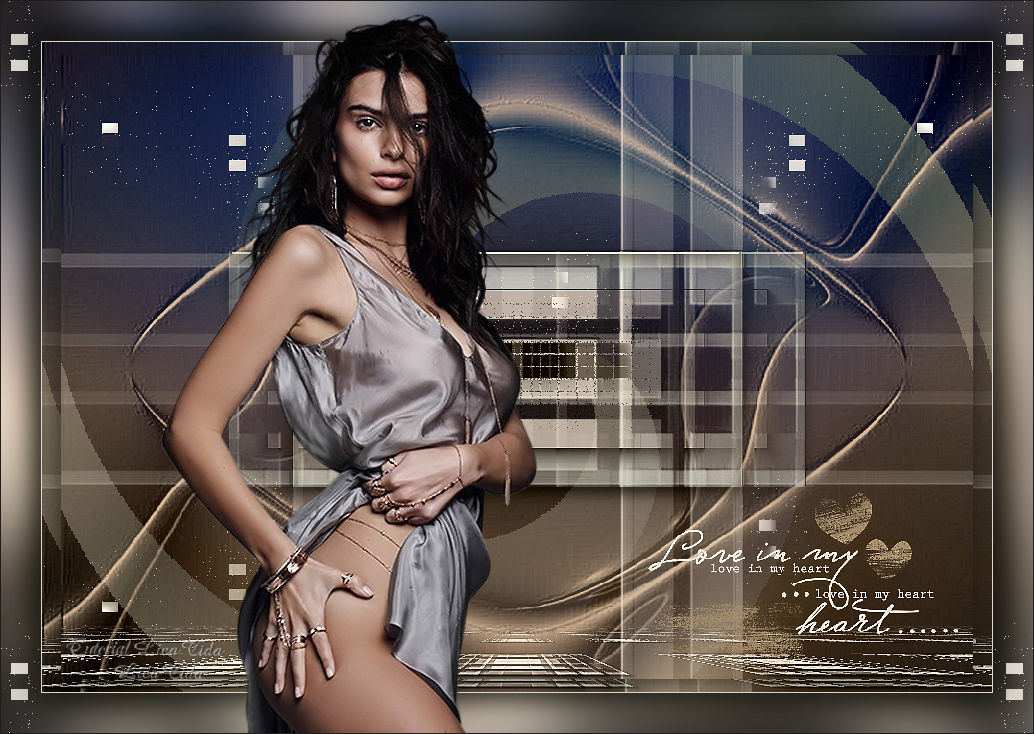
"Love In My Heart"
Masks: @Ildiko_Mask_free_036
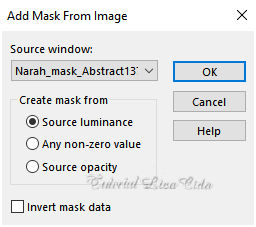
\Narah_mask_Abstract137.
Tube:
2560 - Emily-Ratajkowski- LB TUBES.
Deco:
deco1lc\ deco2lc\ deco3lc
Texto:
LoveInMyHeart
(Agradeço)
Marca
D'água . Efeitos do PSP.
Versão usada PSPX8.
Plugins
Plugin \ AAA Frames .
Plugin
Alien Skin\ Eye Candy 5 Impact.
Plugin
MuRa's Meister.
Alf's
Power Sines.
Plugin
Nik Software \Color EfexPro 3.0.
Tutorial _Roteiro
Configurar:
Foreground #211d1d
 \
Background #dfd7d1 \
Background #dfd7d1 1-Abrir uma nova imagem
transparente de 950 x 650 pxls. Preencher com a color=
foreground.
2-Nova Layer,
preencher com a color=background.
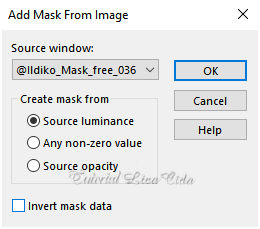
Aplicar a
mask @Ildiko_Mask_free_036.
 Emboss3 \
Layer \ Merge Group.
Effects \Reflection
Effects \ Rotating Mirror . H = 0 \ R=
180 \ Repeat. 3-Selecão Personalizada ( TecleS ).
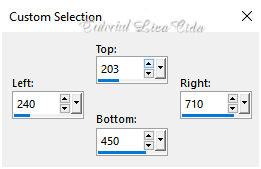 Promote Selection to Layer.
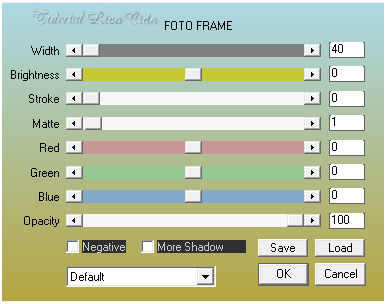
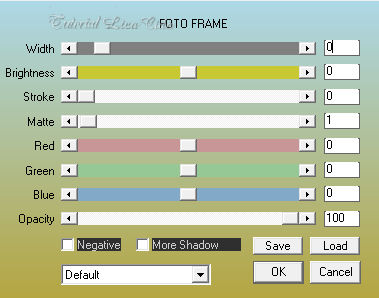
Plugin \ AAA Frames \ Foto
Frame...
 Repetir
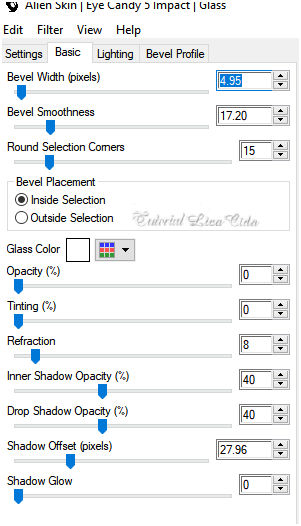
 Plugin
Alien Skin\ Eye Candy 5 Impact\ Glass.
 Selections\ Select none.
Effects\ Image Effects\ Seamless Tiling:
 Layer Duplicate\
Image Mirror Horizontal.
Layer\
Merge\ Down. 4-Layer Duplicate.
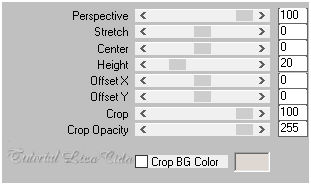
Plugin
MuRa's Meister\
Perspective
 Objects\ Align\ Bottom. Adjust\Sharpness\
Sharpen More.
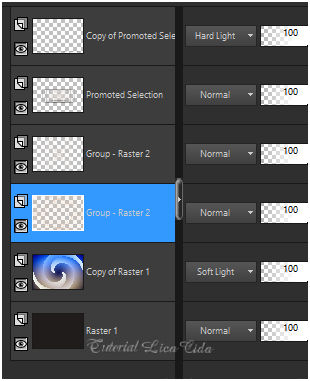
Blend
Mode= Hard Light
5-Ativar a Raster 1. Layer
Duplicate.
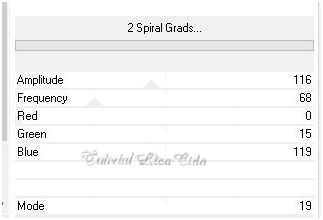
Unlimited 2.0 \Alf's Power Sines.
 Plugin Nik Software
\Color EfexPro 3.0 \ Bi-Color Filters .Color Set \
Cool_Warm1.
Blend Mode= Soft Light \ Opacity 100%.
6-Layer Duplicate.
Blend Mode= Soft Light \ Opacity 46%.
Layer\ Merge\ Down. 7-Nova
Layer\ Flood Fill _Opacity 80% , preencher com a
color=background.
Aplicar a mask Narah_mask_Abstract137.
 Emboss3 \ Layer \ Merge Group.
Adjust\ One Step Photo Fix.
Layers\ Blends\ Opacitys.
 8-Ativar a layer superior.
Edit Copy no deco1lc\ Paste As New
Layer.
( Duplique as layers e use a gosto\
blend mode=screen ).
9-Edit
Copy no deco2lc\ Paste As New Layer.
blend mode=luminance(l)
10-Edit Copy no text LoveInMyHeart\ Paste As New
Layer ( raster2). Posicione.
Layer\ Merge Visible.
**Plugin AAA Filters\
Custom_Landscape ( Default).
11-Layer Duplicate. Resize
96%.
Effects\3D Effects\ Drop
Shadow. 0\ 0\ 80\ 40,00 . (Color=#000000).
12-Image add borderes 1
pxl \ color= background.
Edit
Copy.
13-Image add borderes 40
pxls \ color= foreground.
Selecione.
Edit Paste Into Selection .
Adjust\ Blur\ Gaussian Blur. R=28,00.
Plugin
Graphics Plus\Cross
Shadow_Default.
Invert.
Effects\3D Effects\ Drop
Shadow. 0\ 0\ 80\ 40,00 . (Color=#000000).
Selections\ Select none.
14-Edit Copy no deco3lc\ Paste As New
Layer.
15-Edit Copy no 2560 - Emily-Ratajkowski- LB TUBES\
Paste As New Layer.
Posicione.
16-Image add borderes 1
pxl \ color= foreground.
Aplicar a Marca D'agua.
Assine e
salve.
Aparecida \ licacida , janeiro de
2018.
Espero que gostem.
Obrigada! 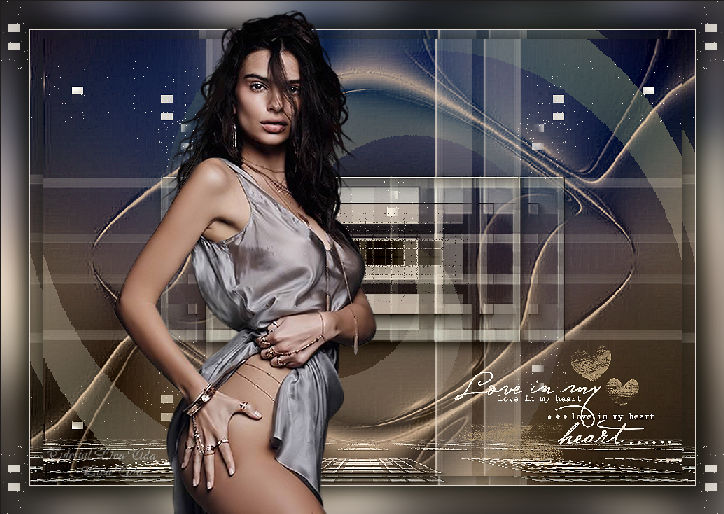  |