|
|
|
Versões Amigas
" Bea "
Tubes: SvB (1016) Beauty\Gabry-mist
207-17.
Mask:Narah_Mask_0986 \Narah_Mask_1001.
Word
Art: texto .
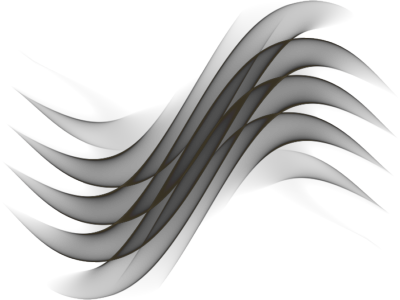
Deco:
feathers_ efeito sem colorir \feathers_ efeito colorido.
(Agradeço)
Marca
D'água . Efeitos do PSP.
Versão usada PSPX8.
Plugins
Filters Unlimited 2.0 {AFS IMPORT}
Plugin
AbstractCurves\ Logos&Emblems (efeitos anexados )
Plugin Alf's Border
FX.
Tutorial
_Roteiro 1-Abrir nova imagem transparente de 950
x 650 pxls, escolher uma cor de acordo com seu
tube
(  = #831100
no foreground e = #831100
no foreground e
 # ffffff
no background) . # ffffff
no background) . Preencher essa imagem com o gradiente
formado pelas cores selecionadas acima.
Configurar: Linear \ A=0
e
Repeats =6. Invert
desmarcado.
 Adjust\ Blur\ Gaussian Blur .
R=32,00.
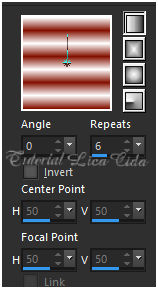
Filters Unlimited 2.0 {AFS
IMPORT}\ FACETOFF .
 Layer
Duplicate\Image Mirror Horizontal. BM= Multipy.
Layer\ Merge\ Merge
Down.
Emboss3.
2- Nova
layer.
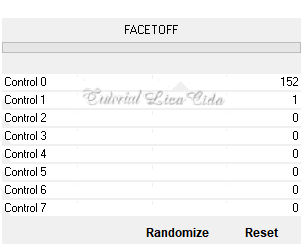
Plugin AbstractCurves\
Logos&Emblems (7)_feathers.
( segue anexo o efeito
)
 Atvar a Ferramenta "Change To Target"
( veja print ) , colorir e efeito feathers a gosto .
(segue
anexo)
 Effects\ Image Effects\ Offset . H=(
menos) -100 \ V=( menos ) -59 . Custom e Repeat.
3-Nova Layer.
Preencher color=#ffffff. Aplicar a
mask Narah_Mask_1001.
 Emboss3. Layer\ Merge Group.
4- Ativar a Raster2.
Layer Duplicate\ Image Mirror
Horizontal.
Effects\ Image Effects\
Offset . H=0 \ V=127 . Custom e Repeat.
Layer\ Arrange\ Bring To Top.
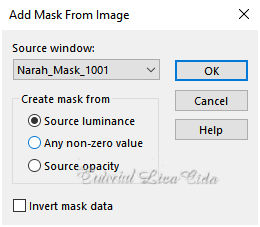
5-Nova Layer.
Preencher color=#ffffff. Aplicar a
mask Narah_Mask_0986.
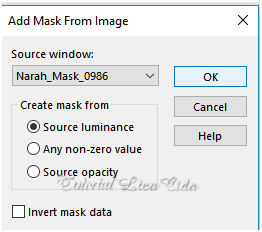 Emboss3. Layer\ Merge
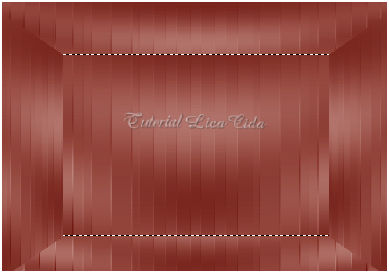
Group. 6-Ativar a
raster1.
Plugin Alf's Border FX\ Mirror Bevel
_Default ( 128 \64 ).
( fechar os layers superiores para
trabalhar melhor)
Usar a ferramenta Selection para
selecionar o efeito formado.
 7-Nova
Layer.
(
flood fill 70%) Preencher color=#ffffff.
Selections \ Modify \ contract 2px _
DELETAR.
Selections
\Modify \ contract 2px _ ( flood fill 70%) Preencher
color=#ffffff.
Selections \ Modify \ contract 2px _
DELETAR.
Selections \ Modify \ contract 2px _
( flood fill 70%) Preencher color=#ffffff.
Selections \ Modify \ contract 2px _
DELETAR.
Selections\
Select none.
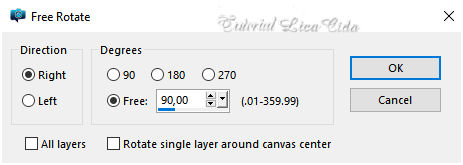
Image\ Free
Rotate.
 Layer\
Arrange\ Bring To Top.
(abrir os
layers inferiores )
8- Image add borderes 1 pxl \ cor mais escura (
foreground
).
9- Edit
Copy no tube Gabry-mist 207-17 \ Paste As New
Layer.
Resize 80%.
Posicione.
Effects \ 3D Effects \ Drop
Shadow 10\ 10\ 50\
20,00. Color=000000.
10-Edit Copy no texto \
Paste As New
Layer.
Effects \ 3D Effects \ Drop
Shadow 10\ 10\ 50\
5,00. Color=000000.
11- Image add borderes 10 pxls \ cor
#ffffff.
Image add borderes 1 pxl \ cor mais escura (
foreground
).
Image add borderes 40 pxls \ cor
#ffffff.
12- Edit
Copy no tube SvB (1016) Beauty \ Paste As New Layer.
Posicione.
13- Image add borderes 1 pxl \ cor mais escura
( foreground
). Aplicar
a Marca D'agua. Assine e
salve. Aparecida \ licacida , novembro de
2017.
Espero que gostem.
Obrigada!!   |