 |
|
Preset
Illumination\Lights_athena (mp) ( Guardar em sua pasta de
Presets My PSP Files).
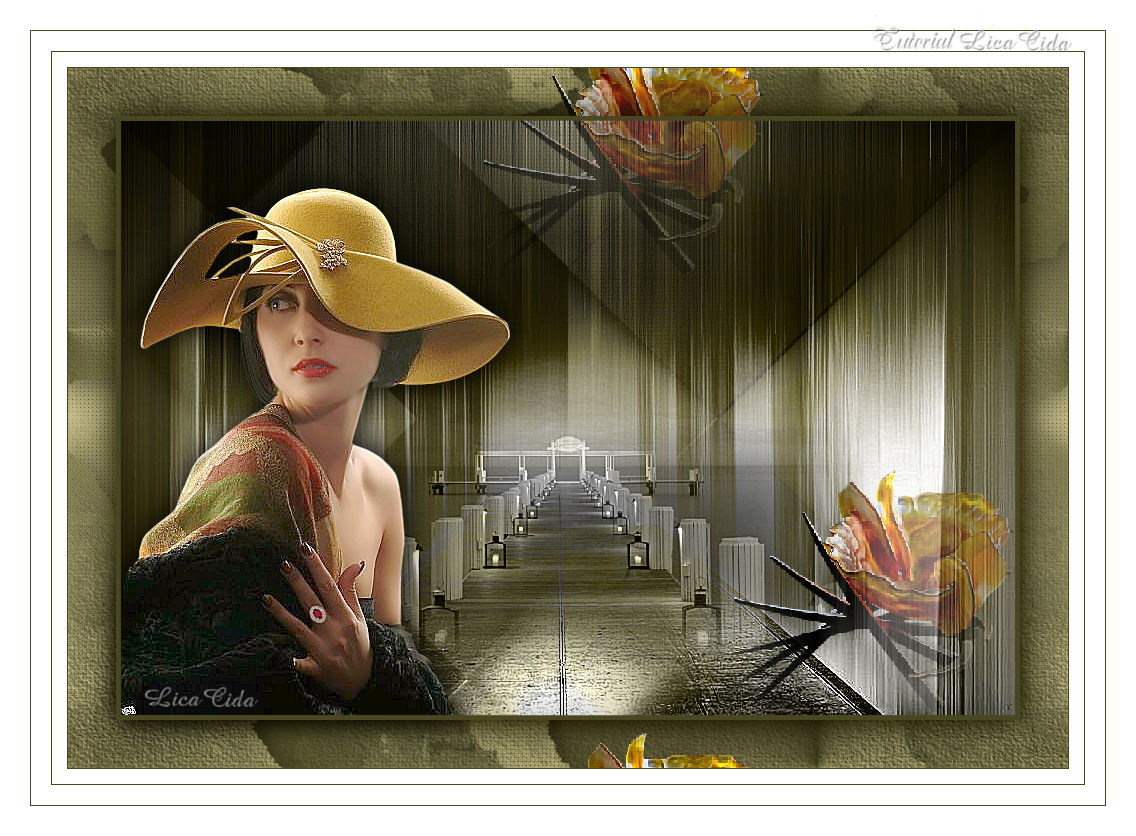
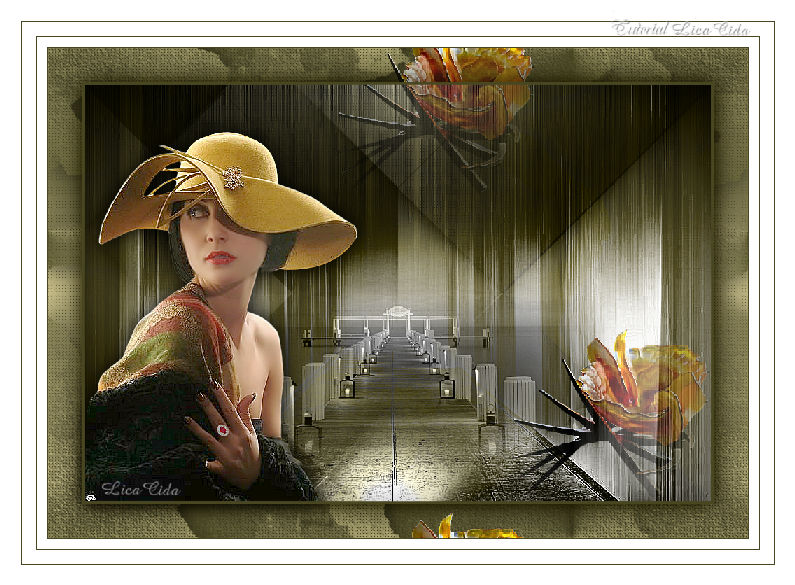
Tubes: Mina@.4665 Lady with yellow hat.04.17
\Mina@.4371.mist.paesaggio.11.16\
image_decor_2_danaee_tubed_by_thafs
Masks:libellulegraphisme_masque16
\74_masque_Animabelle_page4.
(AGRADEÇO)
Marca
D'água . Efeitos
do PSP.
Versão usada PSPX8.
Plugins
Plugin \ Simple. Tutorial
_Roteiro 1-Abrir uma nova imagem
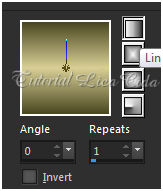
transparente de 1000 x 700 pxls. Preencher
com o gradiente formado pelas cores #494721 e
#d9cf96 .Configurar Linear. Angle 0 \
Repeats 1. Invert desmarcado.
 Layer\ Duplicate. ( tirar a visibilidade da
raster1).
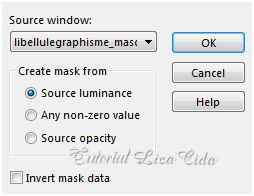
2- Aplicar a Mask
libellulegrafisme_masque16.
 Layer\ Merge\Group.
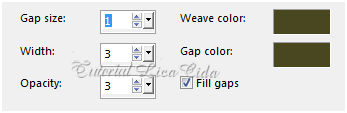
3-Effects\ Texture Effects\
Weave.
Color=#494721e .
 Layer\ Duplicate.
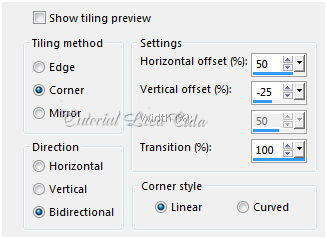
4-Effects\ Image Effects\ Seamless Tiling:
 Effects \ 3D Effects \ Drop
Shadow 1\ 1\ 100\ 40,00. Color=000000.
Layer\ Merge\ Merge Down.
Abrir a visibilidade da raster1 e
ativá-la. Layer\ Duplicate.
Layer\ Arrange\ Bring to Top.
5-Plugin Simple\ Pizza Slice
Mirror.
6-Plugin Simple\ Top Left
Mirror.
( repetir ítem5)
7-Com a ferramenta
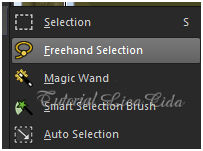 Configurar :
 Selecionar o efeito como print.
 Promote Selections to Layer.
Effects \ 3D Effects \ Drop
Shadow 1\ 1\ 100\
40,00. Color=000000. Selections\ Select
none.
8-Effects\ Image Effects\ Seamless Tiling: (
print ítem4 ).
9-Effects\ Texture Effects\ Weave. (Print
ítem 3).
Layer\ Merge\ Merge Down.
10- Select All.Selections\ Modify
Contrast\50.
Invert\ Delete\ Invert.
11- Nova layer.
Edit Copy na
74_masque_Animabelle_page4 \ Edit Paste Into Selection .
_Adjust\ Sharpness\ Sharpen
More.
(deixe selecionado)
12-Edit Copy no tube Mina@.4665 Lady with
yellow hat.04.17\ Paste As New Layer. Posicione sobre o
pontilhado. Adjust\
Sharpness\ Sharpen .
13-Selections\ Modify \
Select \ Selection\
Borderes.
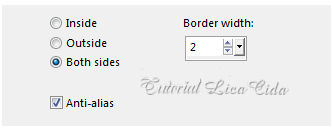 Nova Layer. Preencher
color=#494721. Selections\ Select
none.
Layer\ Merge\ Merge Down.
Effects \ 3D Effects \ Drop
Shadow 1\ 1\ 100\
40,00. Color=000000. Layers\ Blends\ Opacitys
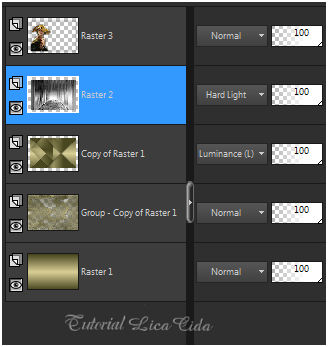 Ativar a Raster2.
13-Edit Copy no tube Mina@.4371.mist.paesaggio.11.16\ Paste As New
Layer. Resize 80\ Repetir. Posicione.
_Adjust\ Sharpness\ Sharpen
More.
14-Edit Copy no
tube image_decor_2_danaee_tubed_by_thafs\ Paste As New Layer. Resize 80\
Repetir tres
vezes.
_Efects\ Image Effects\ Offset...
H= 304 \V= (menos) -173 . Custom e
Transp.
15-Effects\ Image Effects\ Seamless Tiling: (
print ítem 4 ).
Adjust\ One Step Photo Fix.
_Adjust\ Sharpness\ Sharpen
More.
Ativar a Copy of Raster 1.
16-Effects\ Illumination Effects\ Preset
Illumination\ Lights\ athena.
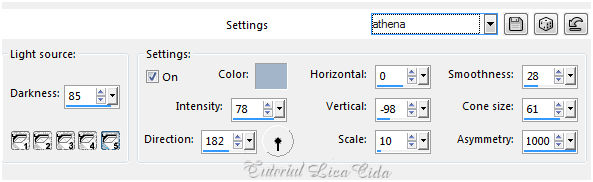 _Image add borderes 1
pxl \ color= #494721 _background ( escura
).
Restante a
gosto.
Aplicar a Marca D'agua.
Assine e
salve. Aparecida \ licacida , maio de
2017.
Espero que
gostem.
Obrigada!!
  |