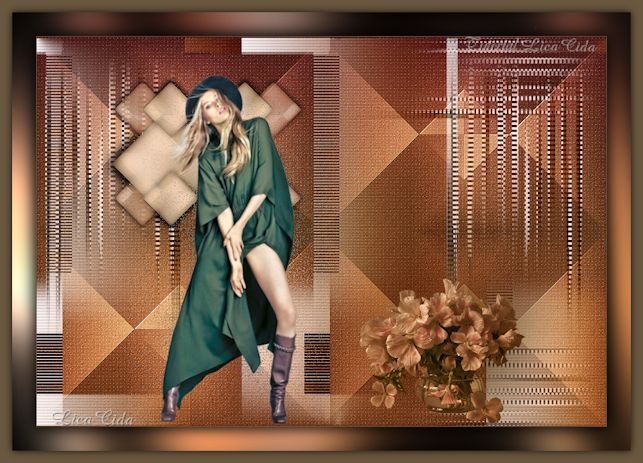
![]()
Versões Amigas
"Simplicity" 
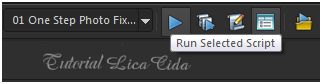
Script_ 01 One Step Photo Fix \ do próprio psp ( Guardar em sua pasta de Scripts Restricted ). Seleção_ lclosango. Salve em sua pasta de seleções My PSP Files. Tubes:malackatube u0371\vazo güllü. Elementos:decôlc1\ decôlc2. Marca D'água. Efeitos do PSP. Versão usada PSPX7
Plugins
Plugin Simple \ Pizza Slice Mirror, Zoom
Out and Flip.
Plugin &<BKg Designess sf10
IV>.
Plugin Alien Skin Eye Candy 5 :Impact \
Glass.
Plugin Carolaine Sensibility.
Plugin Nick Software.
Tutorial
_Roteiro
1-Abrir nova imagem transparente de 950 x 650 pxls. Pintar com a gradiente formada pelas cores #e4c3a4 e #6a573f, retiradas do tube flores.Configurar: Linear A=90 \ R=1. Invert marcado.2-Plugin Simple \ Pizza Slice Mirror... _ Repetir o efeito. 3-Plugin &<BKg Designess sf10
IV>
![]() 4-Plugin Simple\ Quick
Tile...
5- Effects\ Image Effects\ Seamles Tiling:Side by side. ( do próprio psp ) 6-Adjust\ Add/ Remove Noise \ JPEG
Artifactal Removal...( Maximum\ C=79) .
_Plugin FMTT\ Blend
Emboss.
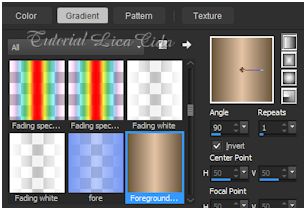
7-Selections\ Load \ Save Selection \ Load Selection From Disk \ Load \lclosango. _ 
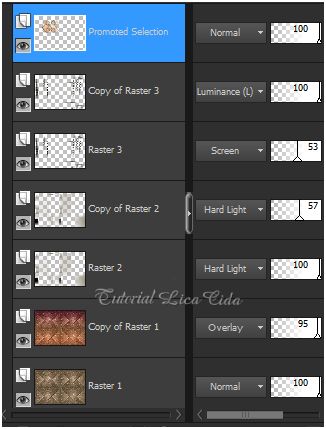
Promote Selection to Layer 8-Plugin Alien Skin Eye Candy 5 :Impact \ Glass _ Preset Clear.
_Selections\ Select none.
_Effects\ 3DEffects\ Drop Shadow . 0\ 0\ 80\ 40,00 . Color#000000. 
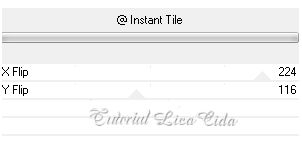
9-Effects\ Image Effects\ Seamles Tiling: Stutter. ( do próprio psp ) _Layer Duplicate. 10-Plugin Simple\ Zoom Out and Flip. _Layer\ Merge\ Merge Down. Resize 80%. 11-Correr
o Script 01 One Step Photo Fix ...
![]() *Procurar o script 01 One Step Photo
Fix...
*
Clique para corrê-lo em Run Selected Script
. 12-Edit Copy no decôlc1\
Paste As New Layer.
_Effects\ Image Effects\ Seamles
Tiling:Side by side.
_ Image \ Mirror \ Mirror Vertical (
image flip ).
_ Effects \Texture Effects\ Blinds.
W=342 \ O=76 . Light from left \top
_marcado. Color=#6a573f (( cor escura)).
_Layer\Arrange\Move Down.
13-Edit Copy no decôlc2\ Paste As New
Layer.
14-Ativar a Raster1. Plugin Carolaine Sensibility\
CS-LDots...
![]() _Layer Duplicate.
15-Plugin Nick Software\ Color EfexPro 3.0\ Bi-Color Filters.
Color Set\ Violete\Pinck1.
Layers\ Blends\Opacitys
(Use a gosto)
![]() 16-Ativar a Layer Promoted Selection
.
_Layer Duplicate. Repetir o
ítem 11.
( Correr o Script 01 One Step Photo
Fix ... ) Blend Mode=
Luminance.
_Repetir o Script na Raster2.
17-Image \Add Borders \1
pxl symmetric marcado. Color
#6a573f.
18-Edit Copy no tube malackatube
u0371\Paste As New Layer. Posicione.
_Layer
Duplicate.
_Raster1. Adjust \ Blur\
Gaussian Blur. R=49,00.
_Repetir o
ítem 11. ( Correr o Script 01 One Step Photo
Fix ... )
Blend Mode= Dissolve. Opacity
32%.
19-Ativar a Copy of Raster1.
_Edit Copy no vazo güllü\ Paste As
New Layer. Posicione.
_ Resize a gosto( reduzi três vezes
80%).
_Layer Duplicate.
_Raster2. Adjust \ Blur\ Gaussian Blur.
R=49,00.
_Repetir o ítem 11. (
Correr o Script 01 One Step Photo
Fix ... )
Blend
Mode= Multiply.
20-Layer\Merge\Merge
All. Faça o acabamento a gosto!
Aplicar a Marca D'agua.
Assine e salve.
Aparecida / licacida, julho de
2015
Espero que gostem. ![]() |