Versões Amigas
" Doce Amargo "
Tubes: tube2437_mulher_mara_pontes
Narah_mask_Nature010
Deco;
decôlc.
Brushes : designal brushes 3_13
Marca
D'água. Efeitos do PSP.
Versão usada PSPX7
Plugins
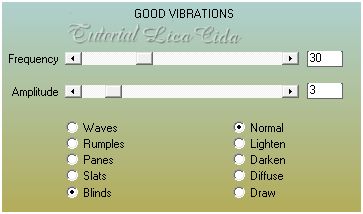
AAA Filters\
Good Vibrations e Custom.
Plugin VM
Instant Art \ Steel Mesh.
Plugin MuRa's
Meister \ Perspective Tiling. AAA
Frames \ Foto Frame.
Tutorial
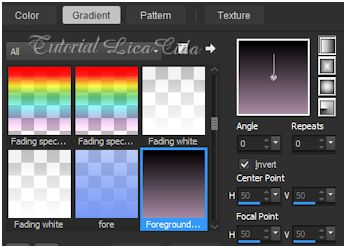
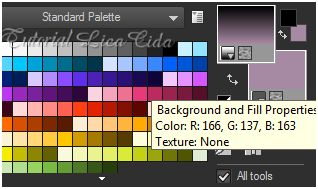
_Roteiro 1-Abrir uma nova imagem transparente de
950 x 650 pxls. Preencher com o gradiente formado pelas
cores #000000 e #a689a3. Configurar Linear.
Angle 0 e Repeats 0. Invert marcado.
 2-Plugin AAA Filters.
3-Effects\Texture Effects\ Weave.
Gap 2\
W 8\ O 35 _Fill gaps marcado. Cores usadas no ítem1.
_Layers \ New Raster Layer.
4-Plugin VM Instant Art \ Steel Mesh.
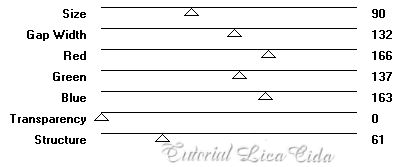 ( mudar red\ green e blue de acordo com as
cores usadas)
 _Effects\ Reflection Effects\ Rotating Mirror. H=0 \ A=180\ Reflect.
5-Plugin DCspecial \ Rain. 134\
4.
_ Layer duplicate.
6-Plugin MuRa's Meister \ Perspective
Tiling.
Height\ 18 ( restante default ). _Effects\ Image Effects\ Seamless Tiling _Side by side. _Adjust\ Sharpness\ Sharpen More. 7-Edit Copy no designal brushes 3_13 \ Paste As New Layer . _Image\ Mirror _ Mirror Horizontal ( usar a gosto ). 8-Seleção Personalizada.
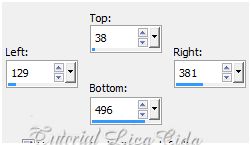 _Ativar a Raster1 . Promote Selection to
Layer.
_Layer\ Arrange\ Bring to Top.
9-Plugin AAA Frames \ Foto
Frame.
 10-
Selections\ Modify\ Contract 30 pxls.
11-Edit
Copy na mask Narah_mask_Nature010 \ Paste As New
Layer. Posicione. Selections \
Invert. Delete.
Selections
\ Select none.
_Blend Mode=Luminance ( L
). Adjust\ One Step Photo Fix.
_ Adjust\
Sharpness\ Sharpen More.
_ Layer \ Merge\ Merge
Down.
_Effects \
3D Effects \ Drop Shadow 0\ 0\ 80\ 40,00. Color=#000000
.
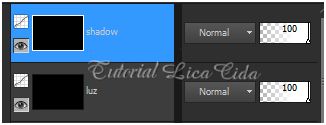
Layers
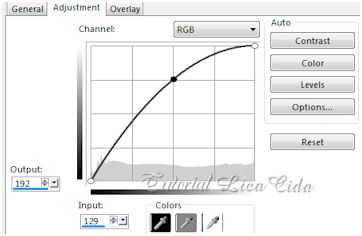
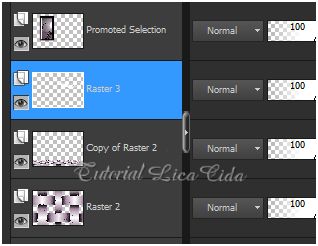 12- Layers\
New Adjustment Layer\ Curves...
 _ Renomear ( luz ). Pintar a layer de
preto ( #000000) .
13-Ativar a layer
inferior (promoted selection ) .
Repetir
: Layers\ New Adjustment Layer\ Curves... ( mudar valores
).
 _Renomear ( shadow ) . Pintar a layer de
preto ( #000000) .
_Layer\
Arrange\ Move Up.
_Layers.
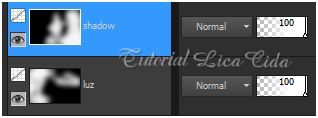
 *Usar
no foreground a color #ffffff.
14-Ativar a
layer luz. Com a ferramenta Airbrush iluminar a parte esquerda do back e o
brush aplicado.
Configurar:
 _Adjust\
Blur\ Gaussian Blur... R=25,00.
15-Ativar a
layer shadow . Com a ferramenta Airbrush shadow na
parte direita do back.
_Adust\ Blur\
Gaussian Blur... R=25,00.
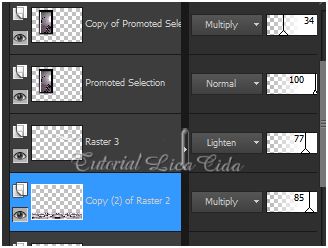
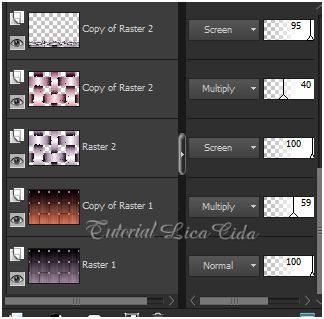
_Layers
 16-Duplicar a Raster1.
_Plugin Nick
Software\ Color EfexPro 3.0\ Bi-Color Filters\ Color Set \
Violet\Pinck4.
17-
Duplicar a Raster2 e repetir o ítem acima, mudar :
Violet\Pinck2.
_Usar o
Effects \ 3D Effects \ Drop Shadow 0\ 0\ 80\
40,00 , na layer = Perspective
Tiling . Color=#000000 .
_Layer\Blends\ Opacitys.
 18-Image \ Add Borders \1 pxl symmetric
marcado. Color= foreground ( #000000 ).
_Image \
Add Borders \1 pxl symmetric marcado. Color= background ( #a689a3
). _Edit Copy
.
19- Image \ Add Borders \40 pxls
symmetric marcado. Color= #ffffff.
_
Selecione. Edit Paste Into Selection.
_Adjust\ Blur\
Gaussian Blur... R=25,00.
20- Plugin
Graphics Pluss\ Cross Shadow_Default. Selection\
Invert.
_Effects \
3D Effects \ Drop Shadow 0\ 0\ 80\ 40,00. Color=#000000
.
Selections \ Select
none. 21-Edit Copy
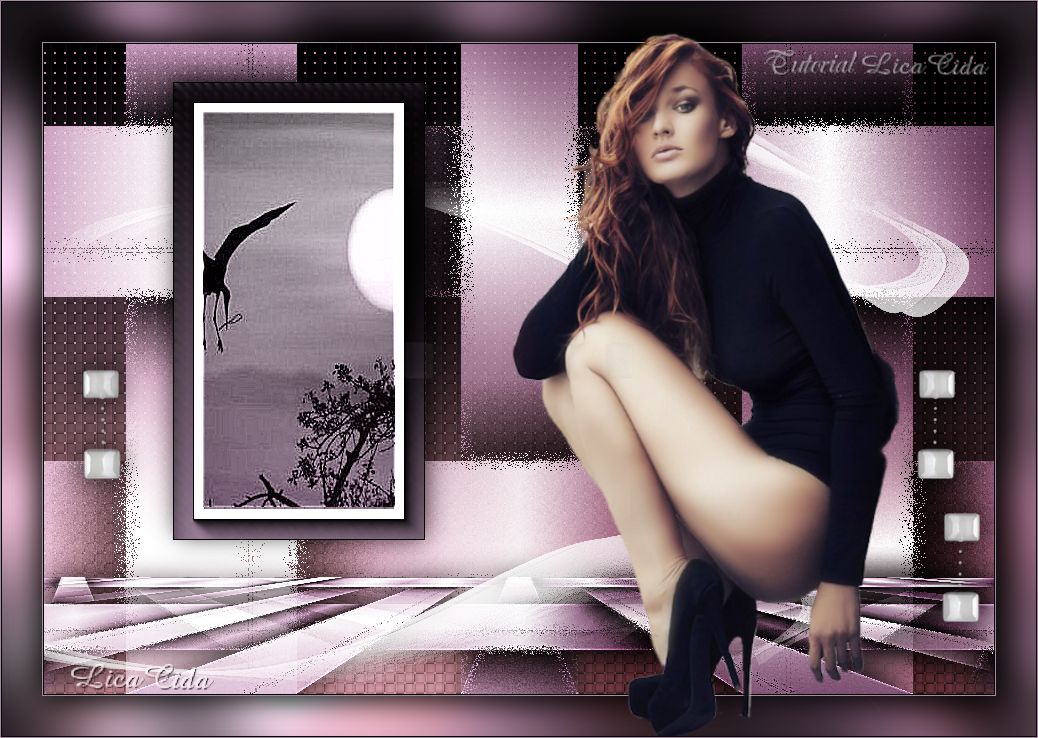
.no tube2437_mulher_mara_pontes \ Paste As New Layer.
Resize e posicionamento.
22-Edit
Copy no decôlc\ Paste As New Layer. Usar a
gosto.
24-Image \ Add Borders \1 pxl symmetric
marcado. Color= foreground ( #000000 ).
_Image \
Add Borders \1 pxl symmetric marcado. Color= background ( #a689a3
).
Aplicar a Marca D'agua.
Assine
e salve.
Espero
que gostem. Aparecida
/ licacida, abril de
2015.   |