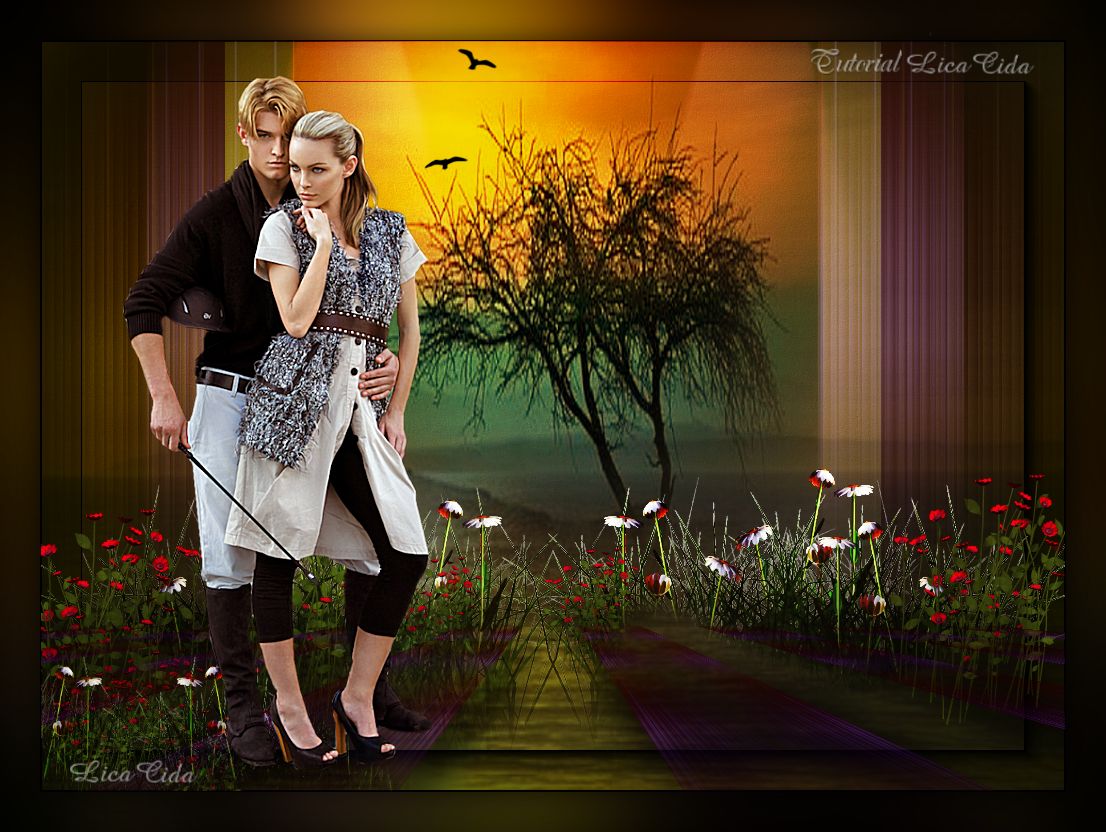
 Versões Amigas
Desafio proposto pelo Grupo "Ponto de Encontro"   You
and I. Preset Illumination\ Lights \ Preset_Lights_circuloslc1 (Salve em sua pasta de Presets My PSP Files). Mask :gradientedworisch. Tube:AnaRidzi29c.
Paisagens : arvorenetarquivo \
paisagemnetarquivo.
Premades: premade1\premade2 ( arquivo net
).
Brush:
SS-birds-flying_21
Marca
D'água.
Efeitos do PSP
Versão
usada PSPX7, podendo ser usado em outras versões.
Plugins
Plugin
\ AAAFilters.
Plugin
MuRa's Meister.
Plugin
Nik Software \Color EfexPro 3.0 .
Tutorial \ Roteiro
1- Abrir uma nova imagem
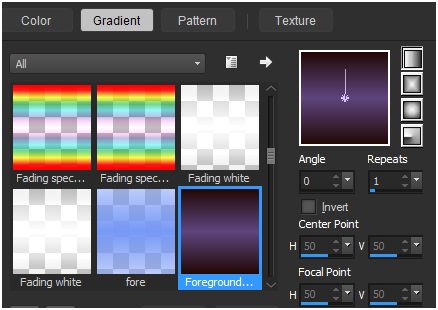
transparente de 1024 x 700. Preencher o gradiente formado pelas
cores: #230a06
e #5e457d .Configurar Linear: Angle0 /
Repeats 1. Invert desmarcado.
 2-
Effects \ Geometric Effects\ Perspective-Vertical. Distortion 88
.Transp.
*Repetir Distortion ( menos ) -88
Transp. 3-
Effects\ Texture Effects \ Blinds ( cor usada no foreground\ cor
escura ).
 4-Effects\ Distortion Effects\ Pinck.
S=100.
*Layer
\ Duplicate.
*Effects\Image Effects\ Offset: 56 \ 0 . C e
T marcados.
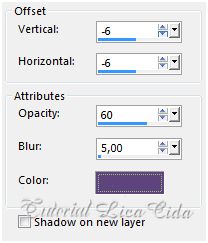
5-Effects \ 3D Effects \ Drop
Shadow ( cor usada no background\cor clara).
 *Layer\ Merge\ Merge Down.
6-Plugin MuRa's Meister\ Copies...
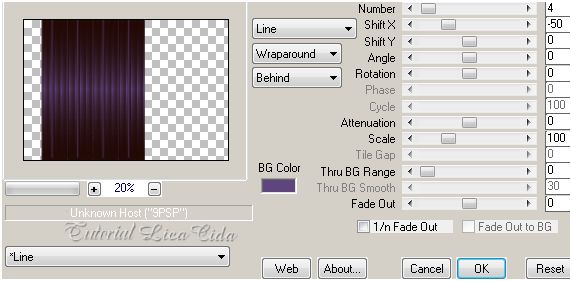 *Objects\ Align\ Right .
7- Ativar a régua e com a Ferramenta Pick Tool
trazer o efeito a 750 pxls.
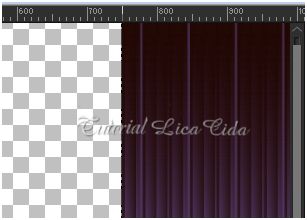 *Layer
\ Duplicate. Image \ Mirror.
* Layer\ Merge\ Merge
Down.
((
Desativar a régua ))
8-Plugin \ AAAFilters.
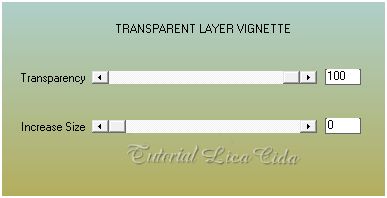
9-Aplicar a mask gradientedworisch. Layer
Duplicate. Layer \ Merge \
Merge Group.
*Emboss 3.
10-Image \Canvas Size _1024 x 750 _Bottom
150.
11-Nova layer. Layer\ Arrange\
Send to Botton .
Preencher o gradiente formado pelas mesmas cores
usadas acima no ítem 1.Configurar Linear: Angle0 / Repeats 0.
Invert marcado.
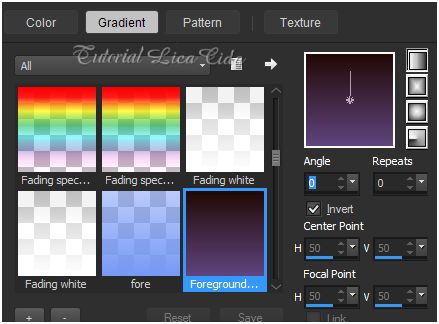 12-Effects \Illumination Effects \
Preset Illumination\Lights\
circuloslc1.
 *Layer
\ Duplicate. Image \ Mirror. Opacity 50%.
*Layer\ Merge\ Merge
Down.
13-Adjust \ Add \ Remove Noise\ JPEG Artifact
Removal. Maximum (marcado). C=86.
*Plugin FMTT\ Blend Emboss.
14-Aplicar a mask gradientedworisch. Layer \ Merge \ Merge
Group.
*Layer\ Duplicate.
15-Plugin Graphics Plus\ Cross
Shadow_Default.
*Adjust\ Blur\ Gaussian Blur. R=58,00
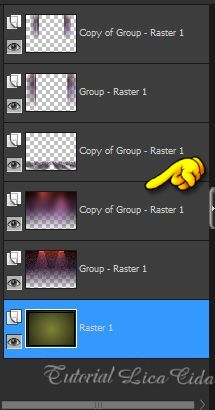
16- Duplicar a Layer Superior_ Group -Raster1 (
veja indicação no print) . Resize80%. Objects\ Align\
Top.

*Effects\ Distortion Effects\ Punch.
S=100.
17-
Voltar a ativar a Group-Raster1 (indicada no print
).
*Layer
Duplicate. Plugin MuRa's Meister\ Perspective Tiling...
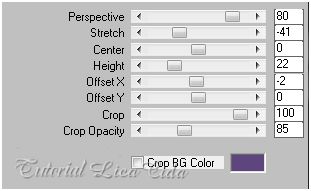 * Layer\ Arrange\ Move
Down.
*Effects \ 3D Effects \ Drop Shadow.
19\25\100\46,00. Color=#000000 .
Repetir Negativo em V e H. 18-Voltar a ativar a Group-Raster1 (indicada
no print ).
*Effects\ Distortion Effects\
Punch.S=100.
19- (
opção para o psp x7 ) Clicar no foreground. Em Material
Properties ativar Accenhed .
Anotar
a cor predominante e retirar dois tons para formar um gradiente
.
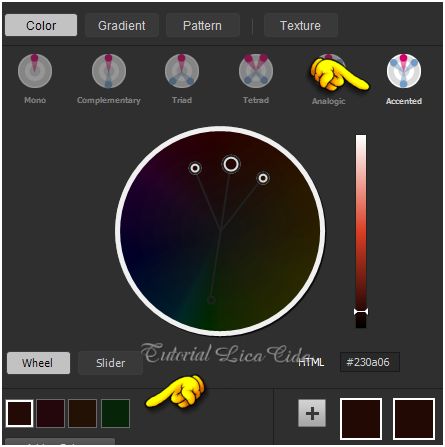 20- Nova layer. Layer\ Arrange\
Send to Botton .
Preencher com o gradiente formado pelas duas cores
escolhidas. Configurar Sunburst : Repeats 0. Invert marcado. CP=
H e V 50 \ FP= H e V 50.
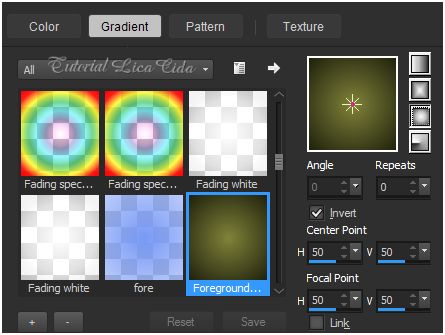 21-
Plugin AAA Frames\ Foto Frame... _ Default .
Ativar
a Layer Copy of Group -Raster1 ( indicada no print).
Layers.
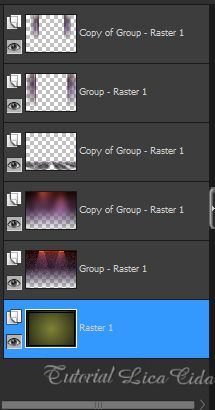 22-Ativar a Layer Copy of Group -Raster1 ( indicada
no print) .
23-Edit Copy na arvorenetarquivo \ Paste As
New Layer. Use no espaço formado.
24- Layers \ Nova layer. Selections \ Select
All. Edit Copy na
paisagemnetarquivo.
Edit Paste Into Selection. Selections\ Select
none.
*Blend
Mode=Overley. Opacity= 65%.
* Layers\ Blends\ Opacitys.
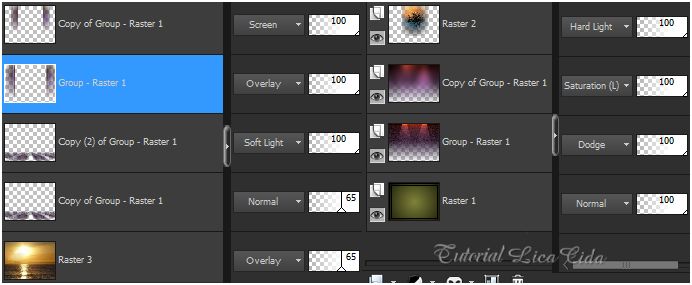
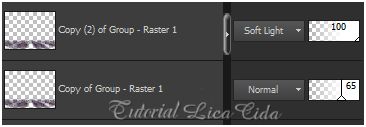
25- Dupliquei as layers do MuRa's
Meister \ Perspective Tiling....
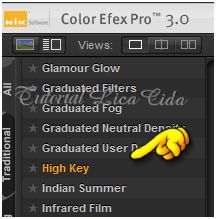
Usar o Plugin Nik Software \Color EfexPro 3.0
\ Bi-Color Filters .
High Key ( valores a gosto ).
26-Ativar a Raster3. Edit Copy no
SS-birds-flying_21\ Paste As New Layer. Use a gosto.
27- Edit Copy na premade1 \ Paste As New Layer.
Posicione , duplica, use a gosto.
*Blend
Mode = Hard Light.
28-Edit Copy na premade2 \ Paste As New Layer.
Posicione, use a gosto.
29-Edit Copy no tube AnaRidzi29c\ Paste As New
Layer. Posicione \ Resize de acordo com o tube
usado.
Aplicar a Marca D'agua.
Assine
e salve.
Espero
que gostem. Aparecida
/ licacida, Janeiro de
2015. 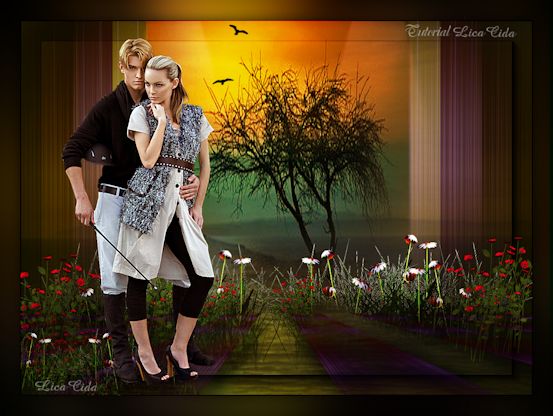  |