|
|
Versões Amigas
"Estela
Fonseca"
* Abraços
especiais pelo seu aniversario. Com carinho, dedico o tutorial!!
Imagem: deviantart (
http://www.deviantart.com/ )
Arquivos: DWtulipas
\ Arquivo
Revnart_Smoke_2_19.
Backs: BACK6-RB\
back2-tuto estela\back2-tuto estela\back3-tuto estela
Tubes:
PSPCYBERTUBES-tube2011-568\merydesign_paysage349
Marca
D'água.
Efeitos do
PSP.
Versão usada
PSPX6 Plugin
Plugin VanDerLee \
UnPlugged-x...
Tutorial 1- Abrir nova
imagem transparente 1000 x 700 pxls. Pintar com a color =#ceb694
.
Configurar no
Foreground .
*Abra seu material
no PSP.
2-Nova
layer.
Select all \ Edit
Copy na imagem deviantart ( http://www.deviantart.com/ ) \ Edit Paste Into Selection .
Selections \ Select none.
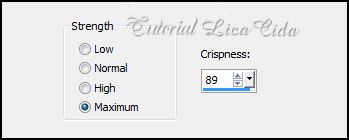
3-Adjust \ Add \ Remove Noise\ JPEG Artifact
Removal.
 4-Plugin FMTT\ Blend
Emboss .
*Blend Mode=
Multiply.
5-Edit Copy no
arquivo DWtulipasarquivo\ Paste As New Layer.
6-Ativar a
Ferramenta Change to Target .
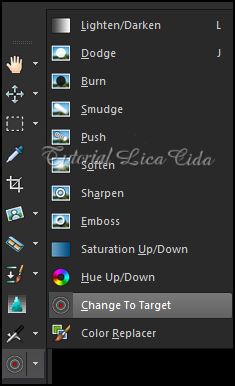 *Configurar como
print.
Passar (
pincelar ) no arquivo DWtulipas . Usar a cor
#ceb694 .
( a cor
escolhida deve estar no Foreground ).
 7-Edit Copy
no arquivo Revnart_Smoke_2_19\ Paste As New Layer.
*Image\
Negative Image.
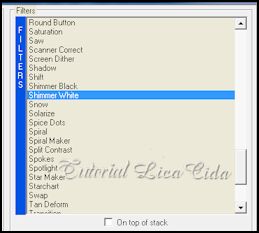
8-Plugin VanDerLee \ UnPlugged-x... Shimmer
White.
_Default_
 *Repetir.
9- Ativar a Raster1
. Nova layer.
Select all \
Edit Copy no BACK6-RB \ Edit Paste Into Selection . Selections \ Select
none.
10-Ativar a Raster2.
Nova layer.
Select all \
Edit Copy no back1-estela \ Edit Paste Into Selection . Selections \ Select
none.
13- Ativar a
Raster3.
Edit Copy no
tube merydesign_paysage349 \ Paste As New
Layer. Posicione.
14- Plugin VanDerLee \ UnPlugged-x... Shimmer
White.
_Default ( print ítem 8)
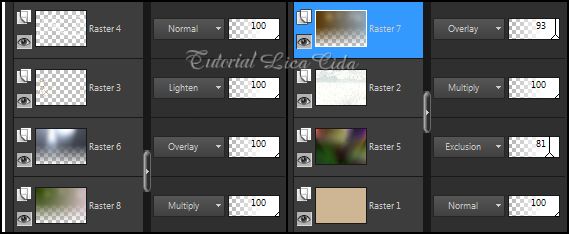
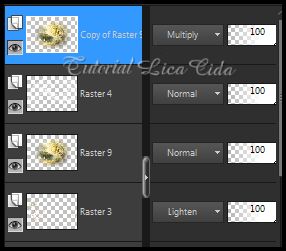
15-
Layer Duplicate\ Layer\ Arrange Move Up.
Layers \ Blends\ Opacitys.
 16-Edit Copy no tube PSPCYBERTUBES-tube2011-568\
Paste As New Layer. Posicione.
Aplicar a Marca
D'agua.
Assine e
salve.
Espero que
gostem. Aparecida /
licacida, agosto de 2014.
Rio de
Janeiro_Brasil 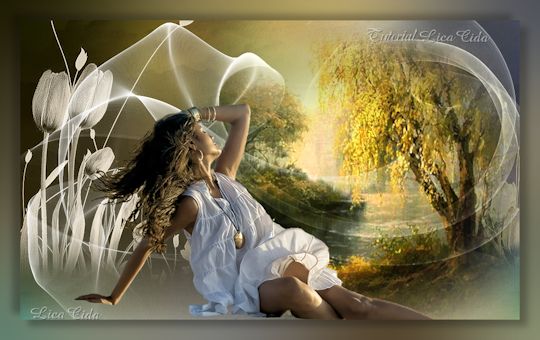  |