Versão Amigas
Seleção : selcarnavallc ( salve em
sua pasta de seleções My PSP Files).
Preset Illumination\ Lights \ Preset_Lights_coldmp (salve em sua pasta de Presets My PSP Files).
Tubes: 32.- Ivo - Arlequina
Backs: coloridarb\
coloridarb2.
Brush:Abstract Aura
VI_9
Marca D'água.
Efeitos do PSP.
Versão usada PSPX7.
Plugins
Plugin Render.
Plugin
Tile&Mirror.
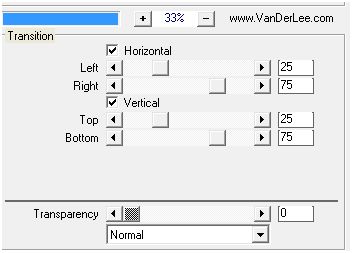
Plugin VanDerLee\ UnPlugged-X.
Plugin nik Color Efex
Pro!1.0.
Tutorial _Roteiro
1-Abrir uma nova imagem transparente de 900 x 550 pxls.
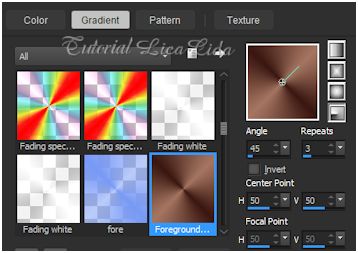
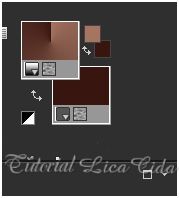
Pintar com o gradiente formado pelas cores: #a57561 e #391711. Configurar Radial.
Angle 45\ Repeats 3. Invert
desmarcado. CP: H e V=50.

Selections \ Select All. Edit
Copy no coloridarb\ Edit Paste Into
Selection. Selections\ Select none.
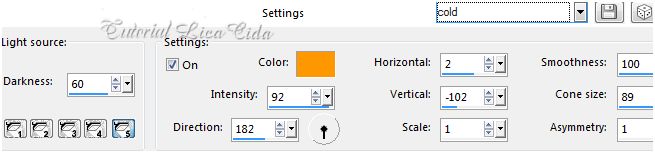
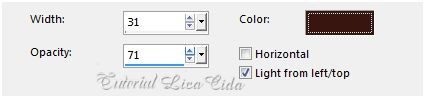
configurar:

Dar pequenos cliques usando o gradiente do ítem 1, mudando os valores A e R=0.
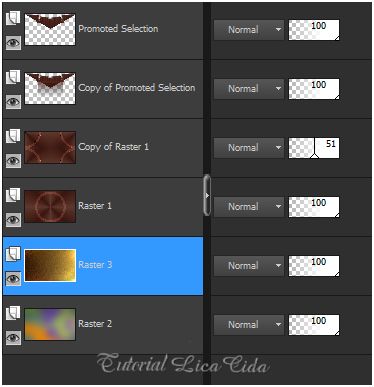
15-Na layer Promoted Selection e sua cópia :
Plugin Nick Software\ Color EfexPro 3.0\ Bi-Color Filters ( use de acordo com as cores usadas).
Layers\Blends\ Opacitys
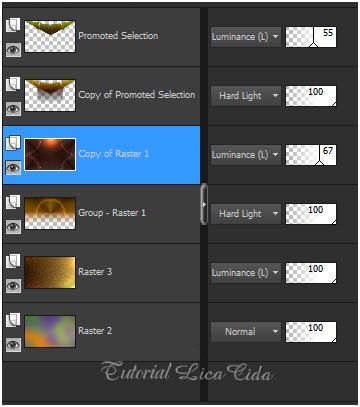
16-Ativar
a Copy of Raster1.
Copy no elemento Brush:Abstract Aura VI_9\
Paste As New Layer.
17-Ativar
a layer superior.
Copy no tube 32.- Ivo - Arlequina\Paste
As New Layer.
Aplicar a Marca D'agua.
Assine e salve.
Espero que gostem.
Aparecida / licacida, fevereiro de
2015.