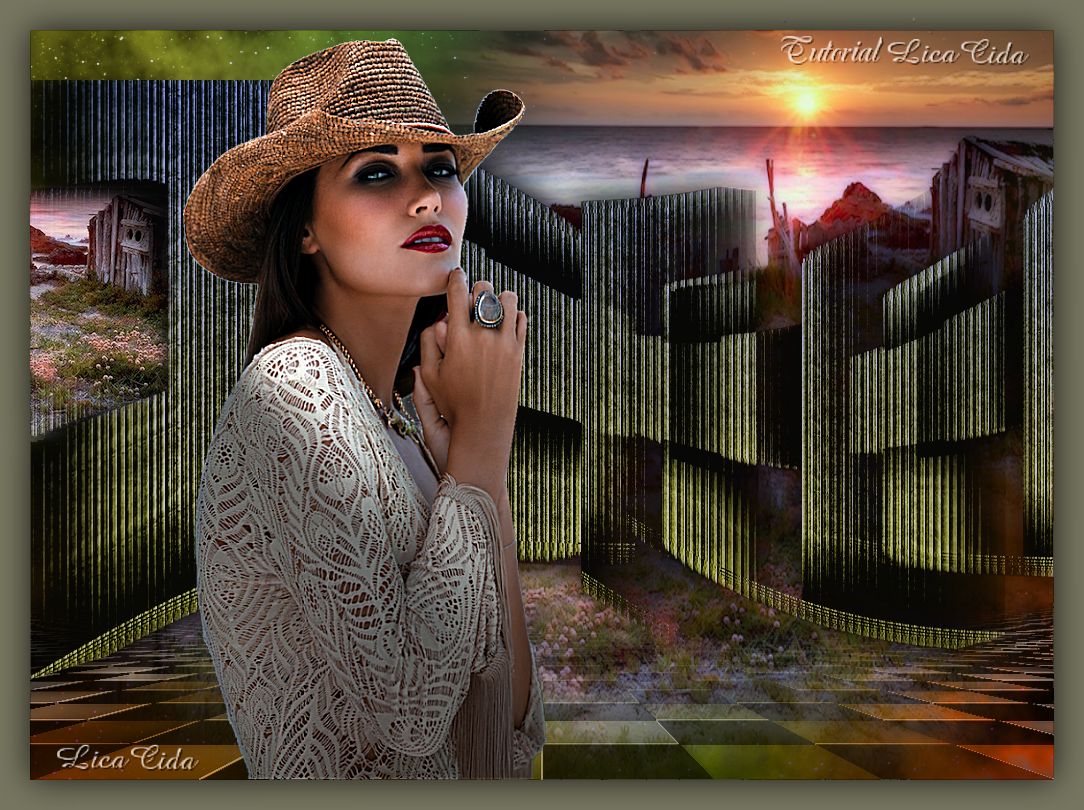
Top "Sweet Sunset"
* * *
Dedico este tutorial a amiga Dani@.
Tubes: tube1023_mulher_mara_pontes \ Dani@1798
Back:
BACK9-RB
Marca
D'água.
Efeitos do
PSP.
Versão usada
PSPX5
Plugins
Plugin Unlimited
2.0 \ Paper Textures.
FFG\A.
Plugin MuRa's
Meister \ Copies .
Plugin MuRa's
Seamless \Checks with Gradation.
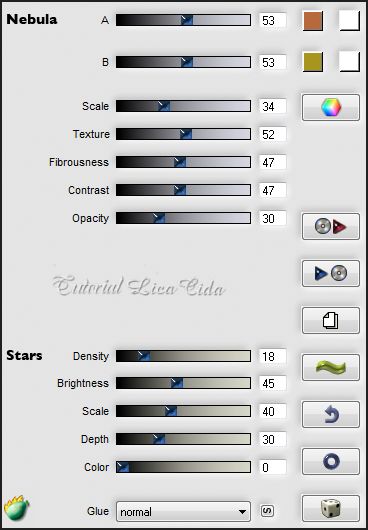
Plugin MuRa's
Meister\ Perspective Tiling.
Plugin Flaming
Pear\ Glitetrato.
Plugin Nik
Software/ Color EfexPro 3.0 .
Plugin Xero\
Porcelain.
Tutorial
_Roteiro
1-Abrir uma nova imagem transparente 1024x600.
Pintar color=#76755f.
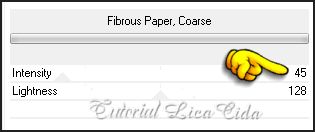
2-Plugin
Unlimited 2.0 \ Paper Textures.
3-
FFG\A.
4-
Selecionar com a ferramenta Magic Wand ( tolerance10) a parte lisa .
Delete. Selections / Select none.

5-Effects\
Geometric Effects \ Perspective Horizontal 55
Transparent.
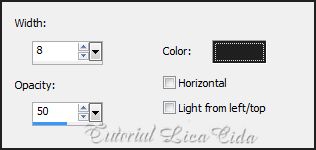
6- Effects\
Texture Effects\ Blinds. Color=#202020.
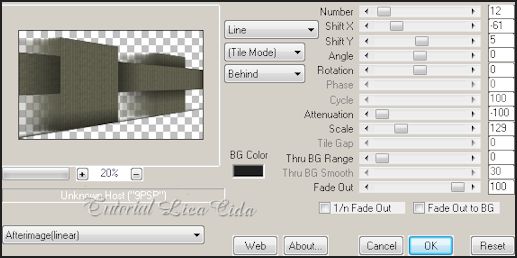
7-Plugin
MuRa's Meister \ Copies :
8-Layer\ Duplicate. Resize 80%. Effects\ Image Effects\ Seamless Tiling: Side by side.
Image Mirror.
9- Ativar a
Ferramenta Pick . Da esquerda para direita do top, efeito a 550
pxls.
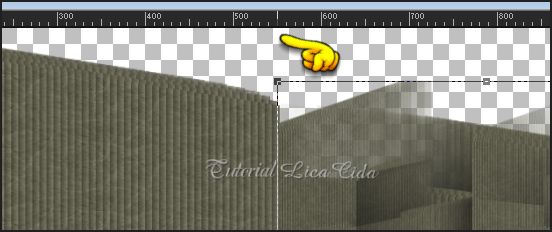
10-Ativar a
Raster 1 . Da direita para esquerda do top, efeito a 610
pxls.
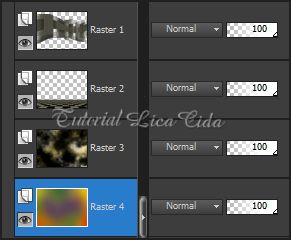
LAYERS
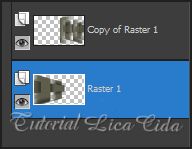
11-Ativar a Copy of Raster 1 . Layer\ Merge\ Merge Down .
Repetir ítem 6 \ Effects\ Texture
Effects\ Blinds. ( valores iguais )
12-Image\
Canvas Size 1024 x 750 . Botton 150.
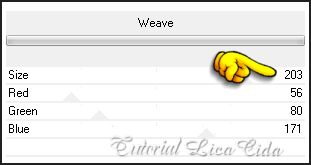
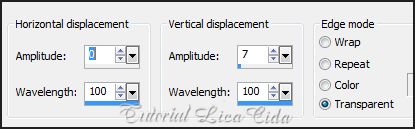
13-
Effects\ Distortion Effects\ Weave.
14-Effects \ Image Effects \Offset: H= 0\ V=
( menos ) -40. Custom e Transparent marcados.
15-Nova layer. Pintar com a
cor usada no ítem 1.
16-Plugin
MuRa's Seamless \Checks with Gradation. Default.
17-Plugin
MuRa's Meister\ Perspective Tiling.

18- Ativar a
Ferramenta Pick .Efeito a 570 pxls. Arrange\Send to Botton. Emboss
3.

19-Selecione com a Ferramenta Magic Wand a parte
superior ( a transparente ) . Selections\ Modify\
Feather \ 30 . Delete ( três vezes). Selections / Select
none.
20- Nova layer\
Arrange\Send to Botton. Plugin Flaming Pear\ Glitetrato. Cores =
#b7693b \#ffffff \ #a8951e \#a8951e\ #ffffff ou a gosto.
21-New
Layer. Arrange/Send to Botton. Select all / Edit Copy no BACK9-RB/ Edit Paste Into
Selection . Selections / Select
none.
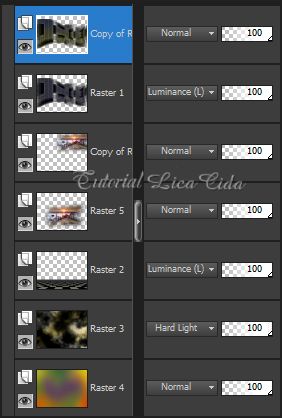
22-Ativar a Raster 2\Edit
Copy no tube paisagem Dani@1798\ Paste As
New Layer . Duplique e posicione.
23- Plugin
xero Porcelain _ Default _ todas as layers menos a Raster
4.
24- Ativar a
Raster1 . Plugin Nik Software\ Color EfexPro 3.0 \ Bleack
Bypass_Default.
25- Duplicar a
layer ( raster1) e Plugin Nik Software\ Color EfexPro 3.0 \ Bi-Color
filters \ Cool Warm\ Color Set 3.
26-Effects
/ 3D Effects / Drop Shadow: 0/ 0/ 80 / 50,00
. Color=#000000 . Usar nas duas layers do efeito.
27- Edit Copy no
tube1023_mulher_mara_pontes\ Paste As New Layer
.
PS_ Usei um
pedacinho da paisagem para compor o detalhe a esquerda do
efeito.
Aplicar a Marca
D'agua.
Assine e
salve.
Formate e decore
seu top a gosto.
Espero que
gostem.
Aparecida / Licacida, Agosto de
2013.
Rio de Janeiro_Brasil
