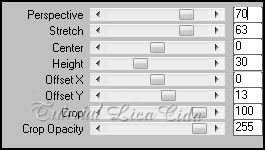
Effects \ 3D
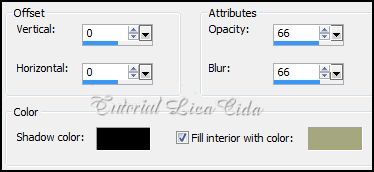
Effects \ Drop shadow 11\11\100\17,49. Color=000000.
Repetir o Drop shadow na
Raster 1 (( nos circulos , mesmos valores.
Layers
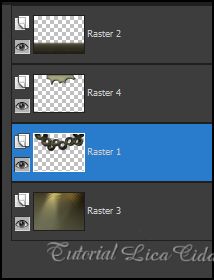
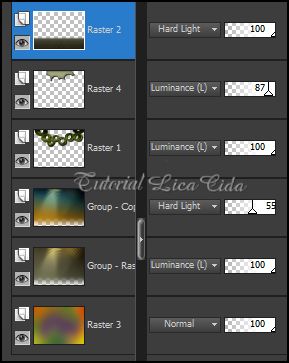
12-Ativar a Raster3 .
Layer \ Duplicate.
Na Copy of Raster 3 .
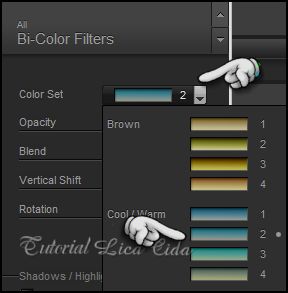
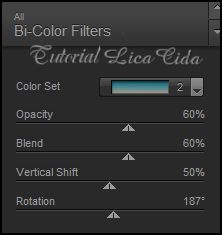
Plugin Nik software\ Color Efex Pro 3,0 . Bi-Color
Filters\ Cool\ Warm. Color Set 2.
13-Aplicar a Mask !!!!.mask.ket-fadesuave,
nas duas layers .
Layer / Merge / Merge Group.
14-New Layer. Send to Botton .
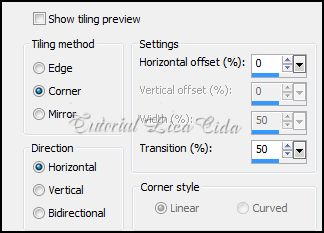
Select all \ Edit Copy no back
:BACK9-RB\ Edit Paste Into Selection .
Selections \ Select
none.
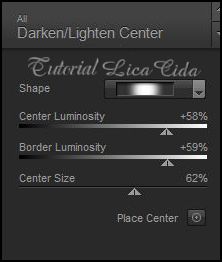
15-Ativar a
Raster1.
Plugin Nik software\ Color
Efex Pro 3,0 . Darken\Lighten Center.
Em seguida :
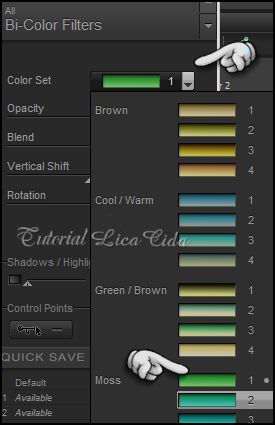
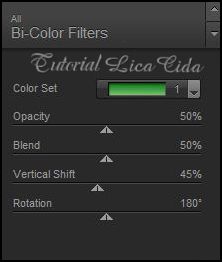
Plugin Nik software\ Color
Efex Pro 3,0 .Bi-Color Filters\
Moss \Color Set 1.
Opacitys\ Blends\
Layers.
16-Edit Copy nos tubes
escolhidos \ Paste As New Layer . Posicione e resize a
gosto .
Aplicar a
Marca D'agua.
Assine e
salve.
Aparecida \ Licacida \ outubro de 2013.