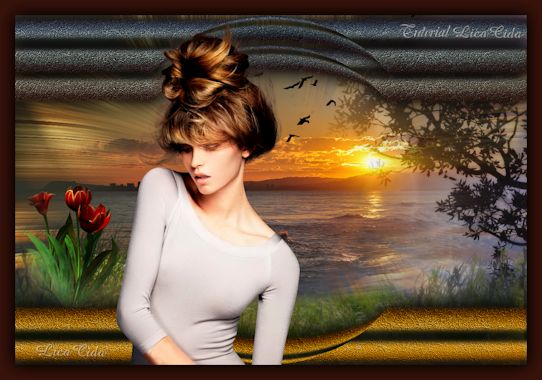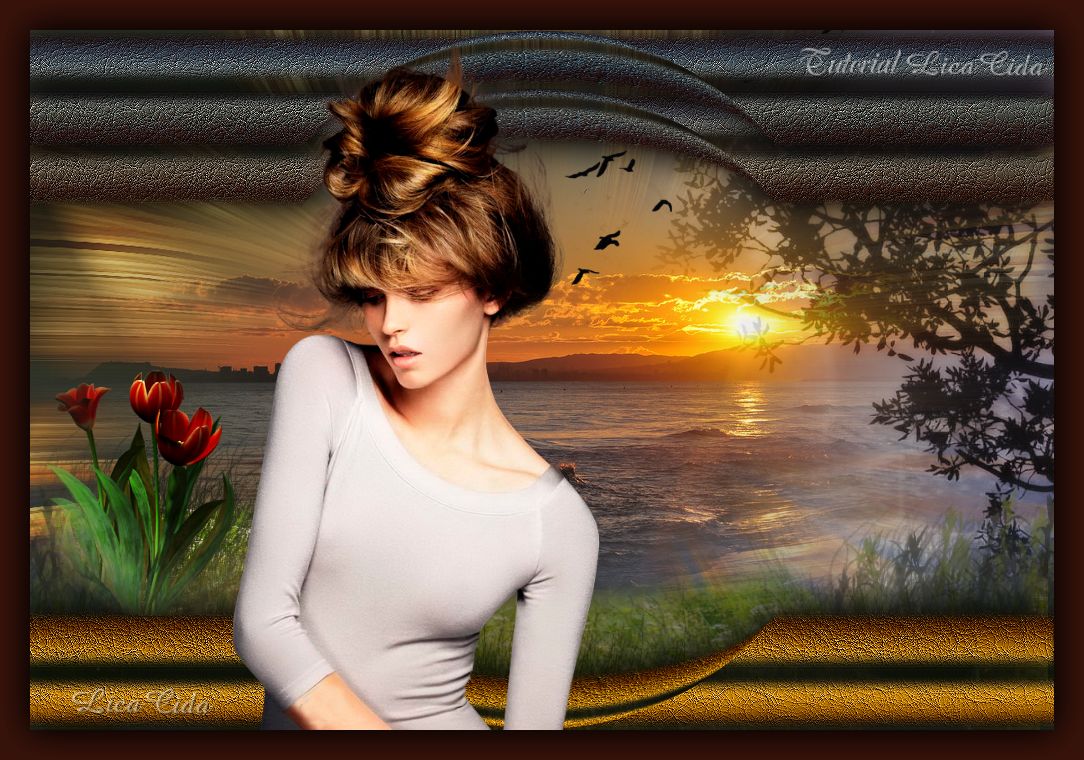
" Serenity"
** Dedico
a querida amiga Aurea Manchini, com carinho!!
Preset
Illumination\ Lights 2bllc (guardar em sua pasta de Presets My
PSP Files).
Imagem 1024x600
anexada.
Tubes: Radyga-tubes-043-13-03-2013\ TubeNP
1247\ TubeNP 1250
Premade: DW\ Flor premade DW\ Pássaros:
arquivo
Mask : Mask
20\20.
Backs:
back1lc\ back2lc\ back3lc.
Marca
D'água.
Efeitos
do PSP.
Versão
usada PSPX5
Plugin
Plugin VM
Toolbox\ Zoom Blur...
Plugin
Nik Software\ Color EfexPro 3.0
Tutorial
_Roteiro
1-Abra a imagem anexada de 1024
x 600 pxls. ( Observe ítem 10, gradiente usado
).
2-Ativar a Raster1. Selections
\Select none. Deletar a Raster2.
3-Effects\ Texture Effects\ Fine
Leather.
4-Effects\ Geometric Effects\ Spherize
. S= 100\ Circle.
5-Image \ Canvas Size 1024 x 700 .
Bottom 100.
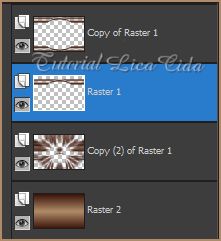
6-Layer\ Duplicate duas vezes.
Na Copy (2) Image Flip. Layer\ Merge\ Merge Down.
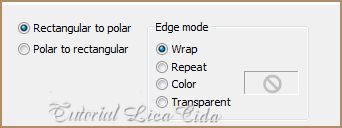
7-Layer\ Duplicate . Effects\
Distortion Effects\ Polar Coordinates.
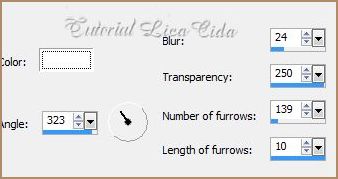
8-Plugin VM Toolbox\ Zoom Blur...
39\60 ( Default). Effects\ Distortion Effects\ Pinch :
S=100.
9-Layer Duplicate.
Effects\ Distortion Effects\ Pinch : S=100. Layer\ Merge\ Merge
Down. Arrange \ Send to Botton .
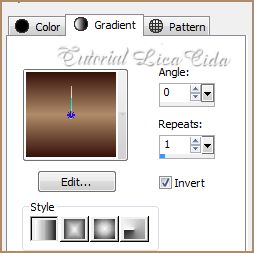
10-New Layer. Arrange \ Send to
Botton . Pintar com o gradiente formado pelas
cores #b08b69 e #37120a . Configurar Linear : Angle 0/ Repeats 1.
Invert marcado .
11- Ativar a Raster 1. Effects/ Image Effects Offset. 0 \ ( menos ) -58 .
Layers
12-Effects \ 3D Effects
\Drop Shadow. 0\0\80\50. Color=#000000, nas layers dos efeitos
.
**Trabalhando a profundidade do Top\ Blends e
Opacitys.
13--Ativar
a Raster 2 .Aplicar a Mask 20\20. Layer \ Merge
\ Merge Group.
14-New Layer. Arrange \ Send to Botton .
Select all \ Edit Copy no back1\ Edit Paste Into Selection
. Selections \ Select none.
15-New Layer. Arrange \ Send to Botton .
Select all \ Edit Copy no back2\ Edit Paste Into Selection
. Selections \ Select none.
16-New Layer. Arrange \ Send to Botton .
Select all \ Edit Copy no back3\ Edit Paste Into Selection
. Selections \ Select none.
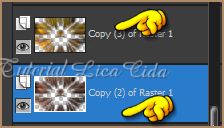
17-Duplicar os efeitos principais e usar o Plugin Nik Software\
Color EfexPro 3.0 \ Bi-Color Filters nas melhores configurações para
as cores usadas.
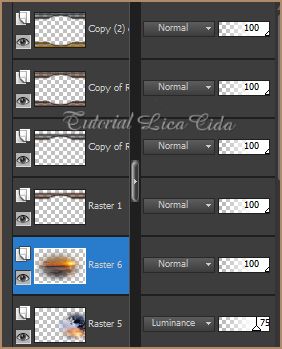
18-
Nas layers que mostra o print : Effects /Illumination
Effects / Preset Illumination/Lights/
2bllc.
19--Repeir
nos efeitos duplicados: Effects \ 3D Effects \Drop
Shadow. 0\0\80\50. Color=#000000.
Layers

20-Edit Copy nos tubes
escolhidos \ Paste As New Layer . Posicione.
Aplicar a
Marca D'agua.
Assine e
salve.
_Formate
e decore seu top a gosto.
Espero
que gostem.
Aparecida / Licacida, Setembro de
2013.