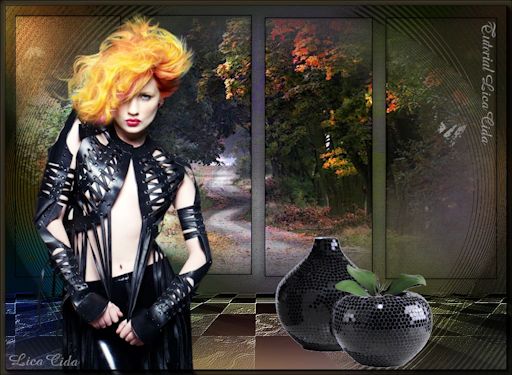
Top ***Dea Maia***
Dedicado a querida Deinha , com
carinho!!
Preset
Illumination\ Lights \ 1bllc \ 2bllc\ 3bllc\ 4bllc (guardar em
sua pasta de Presets My PSP Files)
Tubes: TubeNP
1123 \ TubeNP 1124 \Tubeclaudiaviza-mix51
Background\JHanna_364 background
Mask :
Mask!!!!.mask.ket-fadesuave.
Back:
coloridorb
Marca
D'água.
Efeitos do
PSP.
Versão usada
PSPX5
Plugins
Plugin VM
Natural\ Splash!...
Plugin Unlimited 2.0 \
Distortion Filters \ Surface Tension.
Plugin
FMTT\ Blend Emboss.
Plugin MuRa's
Meister/Perspective Tiling.
Plugin MuRa's
Meister \ Pole Transform.
Plugin Nik
Software/ Color EfexPro 3.0 .
Tutorial _Roteiro
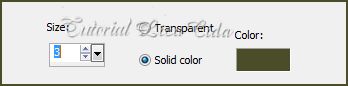
1-Abrir uma nova imagem transparente 1024x600.
2-Select All / Edit Copy no JHanna_364 background/ Edit Paste Into Selection . Selections / Select none.
3-Selecionar os retângulos. Use a ferramenta Selection Tool (S) Selection \ Selection type: Rectangle.
4-Selections\ Modify\ Expandy 3.
5-New Layer .Edit Copy no TubeNP 1124 (paisagem) / Edit Paste Into
Selection .
6-Effects / 3D Effects / Chisel. Color= #4b4d29
_Selections / Select none.
7- Edit Copy nessa layer.
_ Image /Canvas Size _1024 x 750 _Bottom 150.
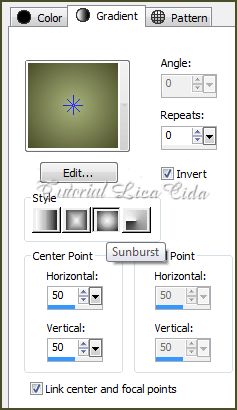
8-New Layer. Arrange/Send to Botton.
_Pintar com o gradiente formado pelas cores:
#4b4d29 e #a9b47c . Configurar Sunburst : Repeats 0. Invert
marcado. CP=H e V=50
9-Select All / Edit Paste Into Selection .
Selections / Select none.
10- Plugin VM Natural\
Splash!...

11-Plugin Unlimited 2.0 \ Distortion Filters \ Surface Tension. Default.
12-Adjust / Add/ Remove Noise/ JPEG Artifact Removal. Maximum \ 100.
13-Plugin FMTT\ Blend Emboss.
14- Layer\ Duplicate . Aplicar o Plugin L en K's Pia / 130.
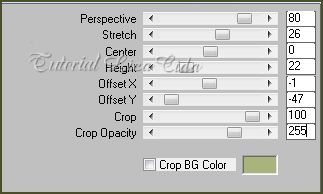
15-Plugin MuRa's
Meister/Perspective Tiling.
16-Effects \ Image Effects \Seamless Tiling \Side by
side.
_Emboss3.
17-Aplicar a Mask
!!!!.mask.ket-fadesuave. Layer / Merge / Merge
Group.
18- Ativar a Raster 3\ Layer Duplicate . Aplicar o
Plugin MuRa's Meister \ Pole Transform.

_ Layer \ Arrange\ Bring to Top.
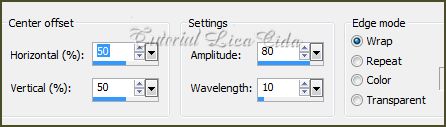
19-Effects\ Distortion Effects\ Ripple.
20-Effects\ Geometric Effects \ Spherize.
S=100 \ Elipse.
_Layers_
21-Ativar a Raster1 .
_Plugin Nik Software/ Color EfexPro 3.0 \ Bi-Color
filters \Cool \ Warm \2.
_Effects /Illumination Effects / Preset
Illumination/Lights/ 1bllc.
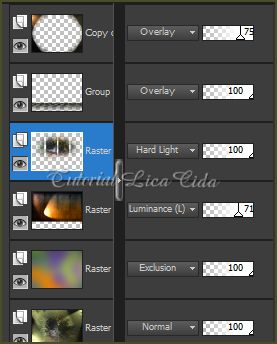
_(Veja Blends Modes e Opacitys no print abaixo).
22-Ativar a Raster 3.
_Effects /Illumination Effects / Preset
Illumination/Lights/ 2bllc.
_New Layer.
_ Select all / Edit Copy no coloridorb \ Edit
Paste Into Selection . Selections / Select none.
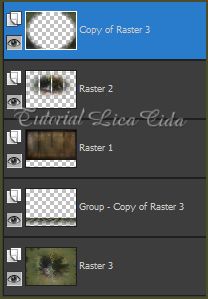
23-Ativar a Group-Copy of Raster 3. Layer
\Arrange\ Move Up .
_Duas vezes.
24- Ativar a Raster2.
__Effects /Illumination Effects / Preset
Illumination/Lights/ 3bllc.
25-Ativar a layer superior\ Copy of Raster3.
_Effects /Illumination Effects / Preset
Illumination/Lights/ 4bllc.
_Layers_
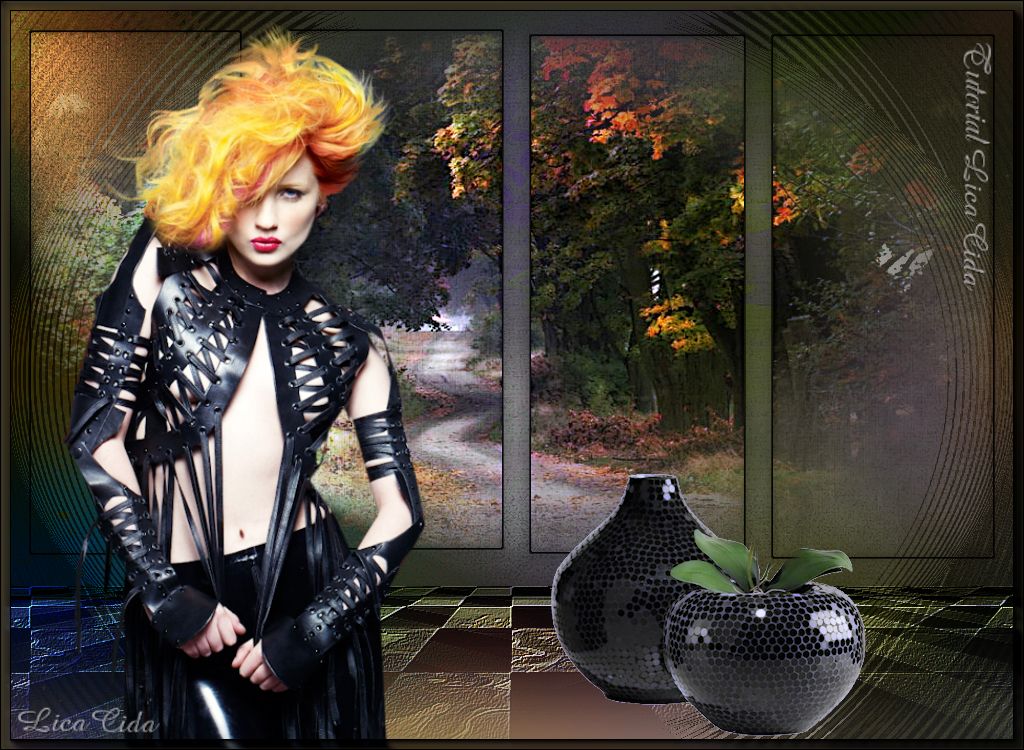
26- Edit Copy no
tube_TubeNP 1123 \ Paste As New Layer . Resize a gosto.
Posicione.
27-Edit Copy no tube_Tubeclaudiaviza-mix51\ Paste As New Layer
. Apague a flor e use a gosto. Posicione.
Aplicar a Marca D'agua.
Assine
e salve.
_Formate e decore seu top a gosto.
Espero
que gostem.
Aparecida
/ Licacida, Maio de 2013.
Rio de Janeiro_Brasil