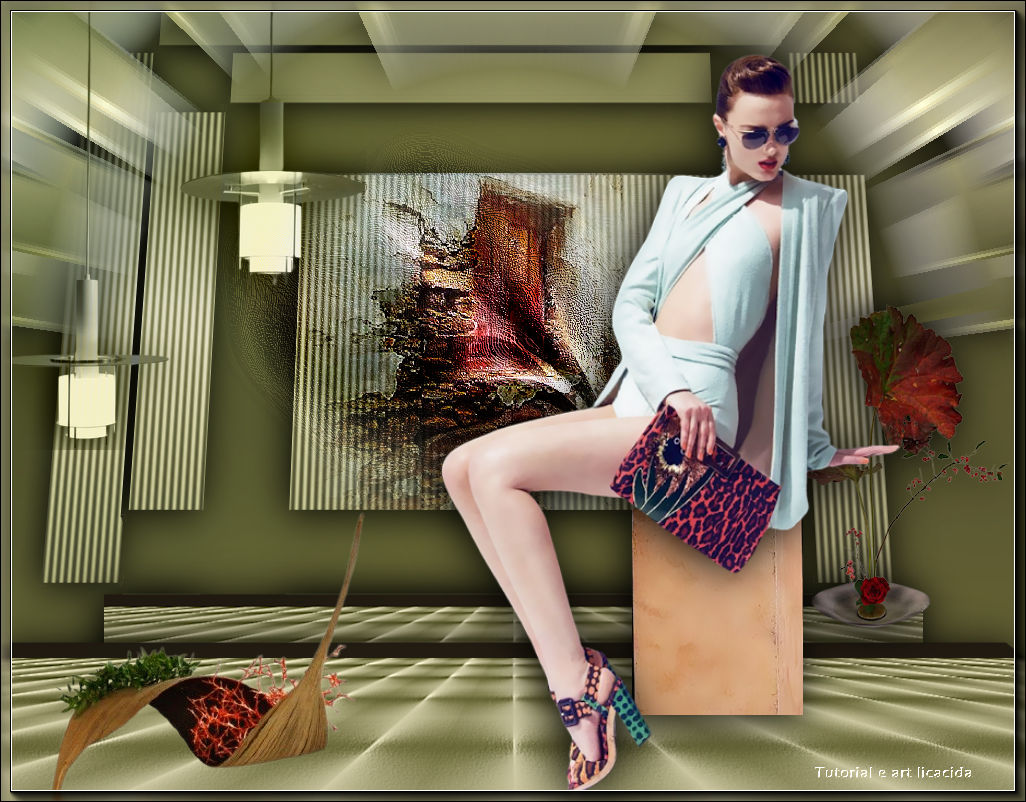
|
"For
a Dream"
Material Aqui
Seleção: sel_zoomblur_lc .PspSelection ( Salve em sua pasta de
seleções My PSP Files ) .
Tubes :SuizaBella_Ref_AG-001419 \SuizaBella_Ref_AG-003024 \SuizaBella_Ref_AG-003037
( o banco )
Mask:cd5mask22dw
Deco:Callitubes-133flores\ Callitubes-141flores\ Callitubes-163decor\decora_acabamento_lc.
Elemento: elementozoomblur_lc\ colorido-lc
(Agradeço)
Marca D'água .
Efeitos do PSP.
Versão usada PSPX9.
Plugins
Plugins Tramages.
Plugins\ MuRa's Meister.
Plugins Alien Skin Eye Candy 5.
Plugins Andromeda.
Plugins VM Stylize.
Tutorial
Configurar:
foreground _ #cbc6a0\ background
_#656436.
1- Abrir uma imagem transparente de 1024 x 800.
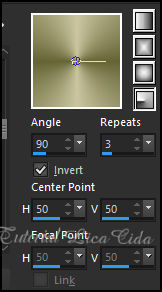
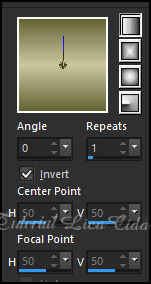
_Preencher esta layer com um gradiente Radial, usando as cores
configuradas acima.
_Layers Duplicate
2-Plugins Tramages \ Wee Scratches_Default (255 ).
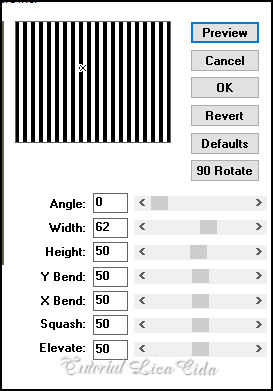
3-Plugins MuRa's Meister/ Perspective Tiling.
_Emboss3.
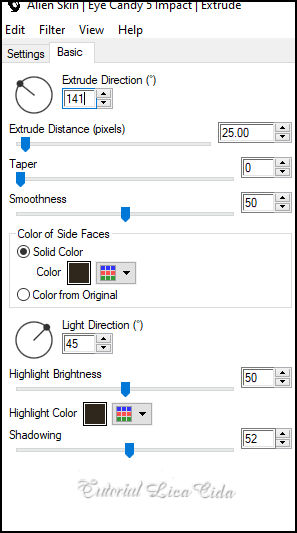
4-Plugins Alien Skin Eye Candy 5: Impact / Extrude .
Color= #2f271b
_ Layers Duplicate
_Image\ Resize 80%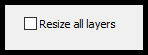
_Layers\ Arrange\Move Down..
*Plugins Alien Skin Eye Candy 5 : Impact\ Perspective Shadow_use a
gosto.
_Usar nas duas layers.
* Layer do Topo.
_Layers\ Merge Down.
5-Layers \ New Raster Layer.
_Preencher com a cor usada no background (escura)
6-Layers \ New Raster Layer.
_Preencher com o gradiente linear formado pelas cores configuradas
acima.
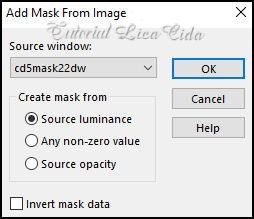
7-Aplicar a cd5mask22dw.
_ Effects\Edge Effects\ Enhance.
_Layers\ Merge Group.
*Plugins Alien Skin Eye Candy 5 : Impact\ Perspective Shadow_use a
gosto.
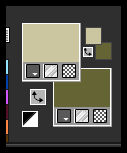
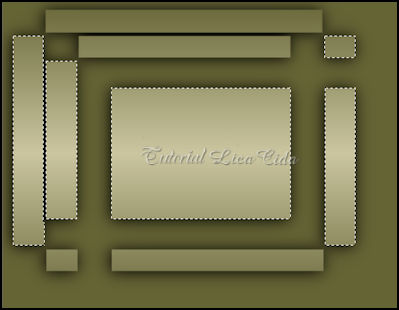
8- Selecionar partes da mask como mostra o print. Usar a ferramenta
Magic Wand_Default.
9_Layers \ New Raster Layer.
_Flood Fill, Opacity 50%, preencher as partes selecionadas com o
mesmo gradiente formado ítem 6.
Selections\ Select none.
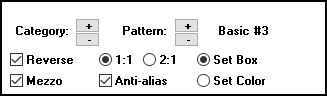
10- Plugins Andromeda\ Designs.
_Layers\ Merge Down.
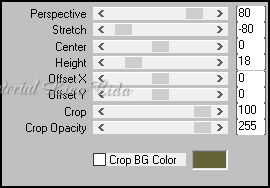
11-Effects\ Geometric Effects\ Perspective Vertical.
D -( menos) 14\ Repeat.
Layers
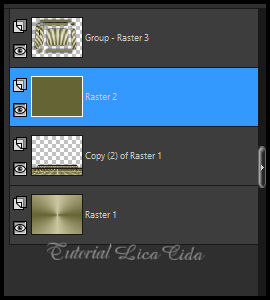
12-Ativar o piso_Copy (2) of
Raster1 .
Layers\ Arrange Bring to Top.
13-Ativar :Group-Raster3.
_Ferramenta Pick Tool, posicione: Position X: -2,00 Position Y:
-35,00.
_Layers Merge Down
Layers
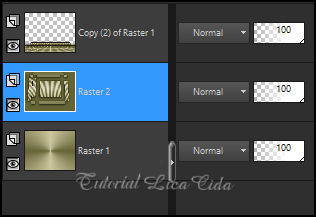
_Layer do Topo.
14-Selections \Load \ Save Selection \Load Selection From Disk \
Load \sel.zoomblur_lc.PspSelection.
_Layers \ New Raster Layer.
15-Preencher esta seleção com o gradiente linear formado no ítem 6.
Opacity 100% ( permanece).
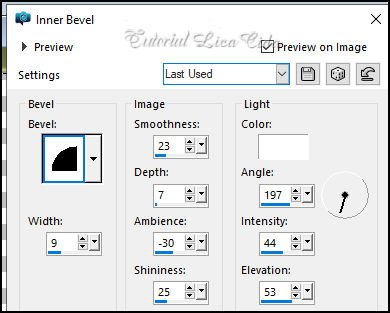
16- Effects\ 3D Effects\ Inner Bevel.
Selections\ Select none.
17- Plugins VM Stylize\ Zoom Blur_Default ( 39\60 )
18-Copy no elementozoomblur_lc\ Paste As New Layer.
_Objects\ Align\ Top.
_Layers\ Merge Down.
*Plugins Alien Skin Eye Candy 5 : Impact\ Perspective Shadow_use a
gosto.
19-Edit Copy no SuizaBella_Ref_AG-001419 \Paste As New Layer.
_Adjust \ Sharpness \ Sharpen.
Resize 80%
20-Ferramenta Pick Tool,
posicione: Position X: 284,00 Position Y: 50,00.
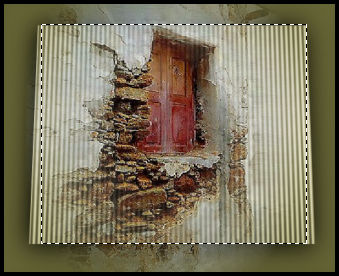
*Com a ferramenta Selection Tool, selecione como mostra o print.
Invert\Delete.
Selections\ Select none.
21-Edit Copy no
decora_acabamento_lc \Paste As New Layer.
_Adjust \ Sharpness \ Sharpen.
22-Ferramenta Pick Tool, posicione: Position X: 164,00 Position Y:
118,00.
23-Edit Copy no SuizaBella_Ref_AG-003024 \Paste As New Layer.
Resize e posicionamento.
*Usar o banco do tube SuizaBella_Ref_AG-003037 * use a gosto.
24-Edit Copy nos decos \Paste As New Layer.
_Callitubes-133flores\ Callitubes-141flores\ Callitubes-163decor.
Posicione e resize * use a gosto.
*Plugins Alien Skin Eye Candy 5 : Impact\ Perspective Shadow_use a
gosto.
_Layer do Topo.
25-Layers \ New Raster Layer.
_ Selections \Select All .Edit Copy no colorido-lc \ Edit Paste Into
Selection . Selections\ Select none.
Blend Mode Overley \Opacity a gosto.
_Image \ Add Borders \ 1 pxl color =fore
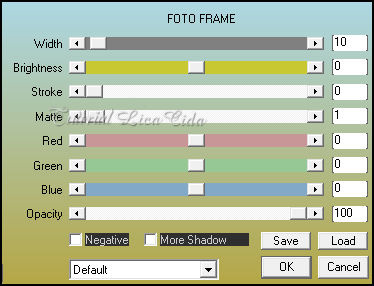
26- Plugins AAA\ Frames\ Foto Frame.
Aplicar a Marca D'agua.
Assine e salve.
Aparecida \ licacida , março de 2022.
Espero que gostem.
Obrigada!

:::...VOLTAR...::: |