|
|
|
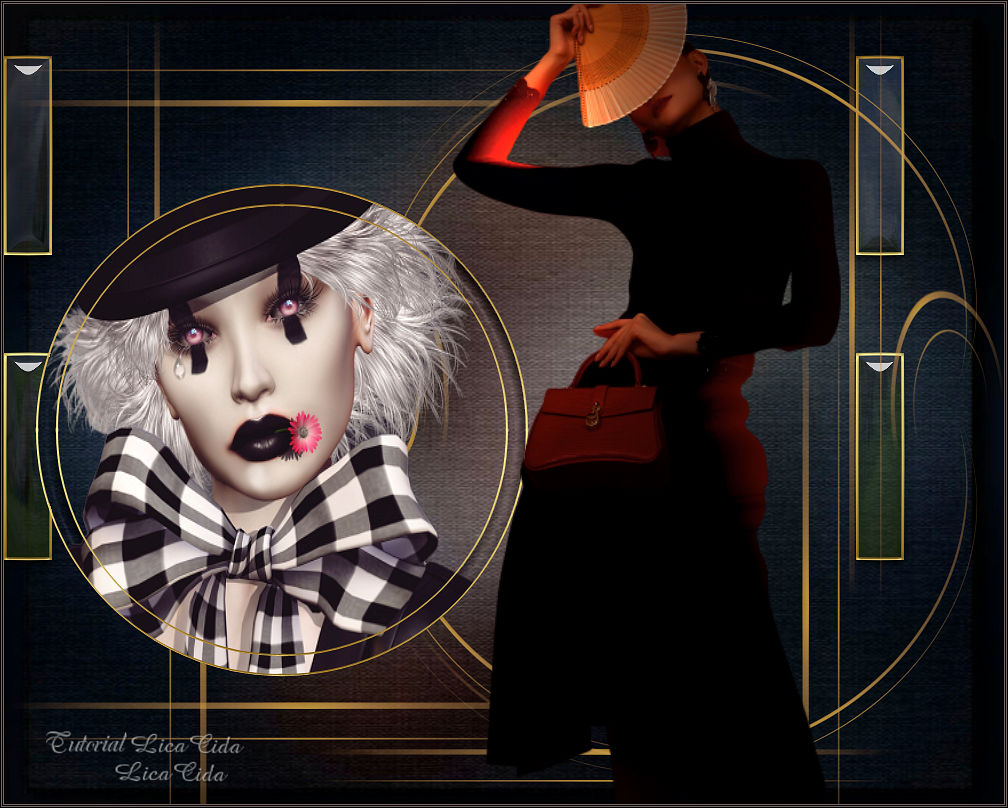
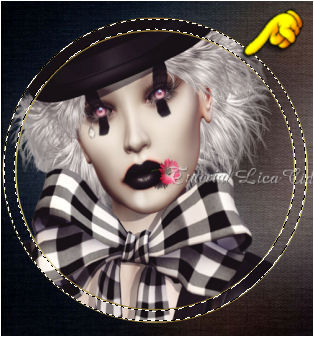
" Commedia dell’Arte " _2020_
Seleções:
selcirculolc1.PspSelection. selNarah_sel_listen1.PspSelection.
selNarah_sel_listen2.PspSelection.
( somente usar as
seleções Narah com devida autorização_obrigada! )
( Salve em sua
pasta de seleções My PSP Files ) .
Preset harmony _mp \ do Eye
Candy 5/Impact/Glass.
(Dar duplo clic sobre o preset para
importar-lo ao Plugin).
Preset
Illumination\Lights_lens_of_love _mp( Guardar em sua pasta de
Presets My PSP Files).
Tubes
: Renee_TUBES_Fev. 12 \Renee_TUBES_Fev. 1.
Back: fundo tube Renee_TUBES_Fev.
12.
Gradiente:GOLDGRADIENT.
Deco:retangulo goldlc
Texture:Corel_15_014.
(Agradeço)
Marca
D'água . Efeitos do PSP.
Versão usada PSPX8.
Plugins
Plugin
Alien Skin Eye Candy 5: Impact.
Plugin MuRa'S Meister
Plugin
Mehdi.
Plugin
Flaming Pear. Tutorial _Roteiro
1-Abrir nova imagem transparente de 1000 x 800.
Selections\ Selection All. Edit Copy no
back anexado ( fundo tube Renee_TUBES_Fev. 12\ Edit Paste Into
Selection . Selections\ Select none.
( caso queira outra cor use Adjust\ Hue And
Saturation\Colorize ou prepare seu back, use a gosto)
2-New
Layers.
Selections
\Load \ Save Selection \ Load Selection From Disk \ Load
\selcirculolc1.PspSelection.
3-Edit
Copy no Renee_TUBES_Fev. 1\ Edit Paste Into Selection .
Adjust\
Sharpness\Sharpen.
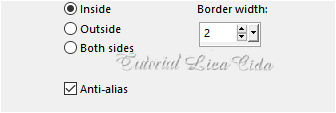
4-Selections \Modify \Select Selection
Borders...
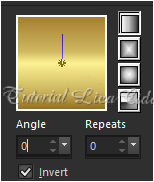
 5-New
Layers.
Preencher
com o Gradiente Gold ( anexado ) . Configurar como print.
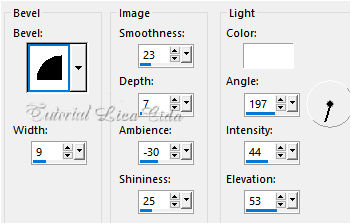
 6-Effects\
3D Effects\ Inner
Bevel...
 Selections\ Select
none.
7-Repetir
:
*_Selections \Load \ Save Selection \ Load Selection From
Disk \ Load
\selcirculolc1.PspSelection.
8-Selections \Modify \Contract...
20pxls.
*_Selections \Modify \Select
Selection Borders...print ítem
4.
New
Layers.
*_Preencher com o Gradiente Gold ...print ítem
5.
*_Effects\
3D Effects\ Inner Bevel...print ítem
6.
Selections\ Select
none.
Layers\ Merge Down.
9-Selecione como o print
com a ferramenta Magic Wand
_Default.
Ativar a Raster1_ Promote Selection to
Layer.
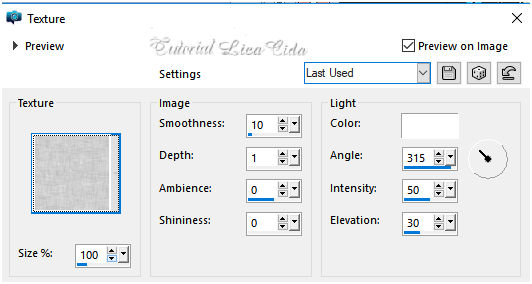
 10-Effects\ Texture Effects\
Texture.
 _Repetir:
*Effects\
3D Effects\ Inner Bevel...print ítem
6. Selections\ Select none.
Layers
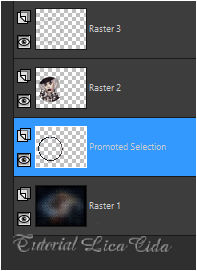 Ativar a raster3. Layers\ Merge Down.
( aplicar duas vezes )
Layers
 11-Selections \Load \ Save Selection \ Load
Selection From Disk \ Load
\Narah_sel_listen1.PspSelection.
Voltar a Raster1 .
Promote Selection to
Layer.
12-Plugin Alien Skin Eye Candy 5: Impact\
Glass... Setting\ use Setting\ harmony .
Repetir:
*_Selections \Modify \Select
Selection Borders...print ítem
4.
New
Layers.
*_Preencher com o Gradiente Gold ...print ítem
5.
*_Effects\
3D Effects\ Inner Bevel...print ítem
6.
Selections\ Select none.
Layers\ Merge Down.
13-Edit Copy no
retangulo goldlc\ Paste As New
Layer.
14-Effects\ Image Effects\
Offset.
 15-Selections \Load \
Save Selection \ Load Selection From Disk \ Load
\Narah_sel_listen2.PspSelection.
DELETE
Selections\ Select none.
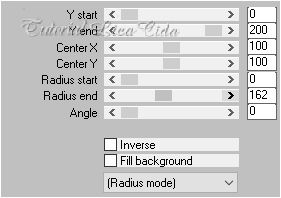
16-Plugin \ MuRa'S
Meister \ Pole Transform.
 17- Plugin Mehdi\
Weaver.
 ( dupliquei a layer \merge down
)
Layers Duplicate.
Imge Mirror
Vertical.
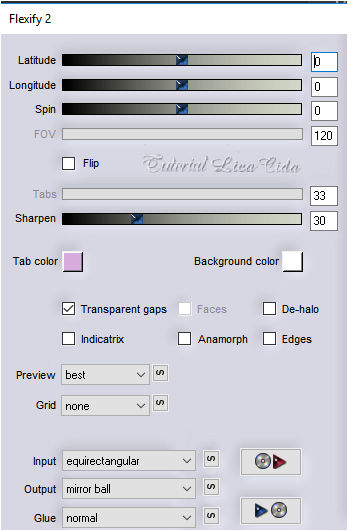
18-Plugin Flaming Pear\ Flexify2.
 19-Image\ Free Rotate.
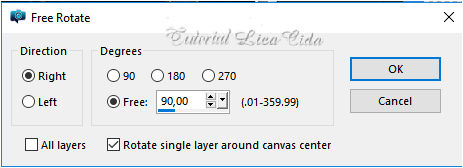 Objects\ Align\
Right.
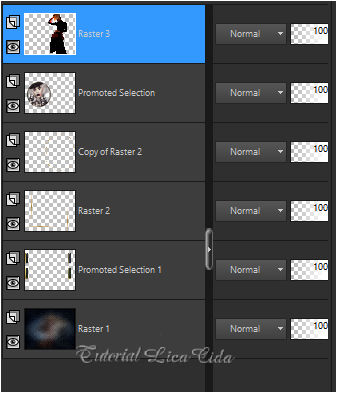
20-Edit Copy no Renee_TUBES_Fev.
12\ Paste As New
Layer.
Layers\ Arrange\ Bring to Top.
Posicione como
modelo.
(OPCIONAL _o uso no
tube)
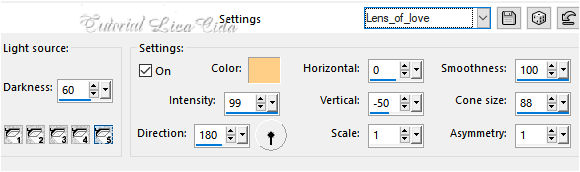
_Effects\
Illumination Effects\ Preset Illumination\ Lights\
lens_of_love.
 Layers\ Blends\ Opacitys
( use a gosto)
 Retire duas cores do
back.
*Image \ Add
Borders \ 1 pxl color =
#645a58.
*Image \ Add
Borders \ 1 pxl color =
#010305.
*Image \ Add
Borders \ 1 pxl color =
#645a58.
*Image \ Add
Borders \ 1 pxl color =
#010305.
Aplicar
a Marca D'agua.
Assine
e salve. Aparecida \ licacida , fevereiro de
2020.
04
Espero que gostem.
Obrigada!
|
