|
|
|
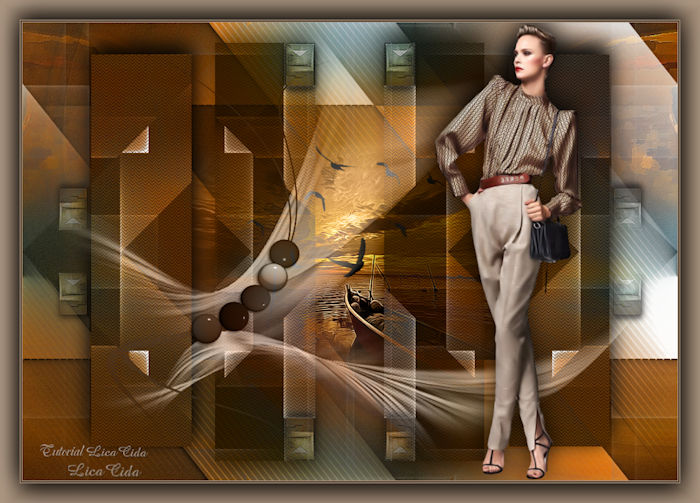
"Cubism"
Preset rouded _mp \ do Eye Candy
5/Impact/Glass.
(Dar duplo clic sobre o preset para importar-lo
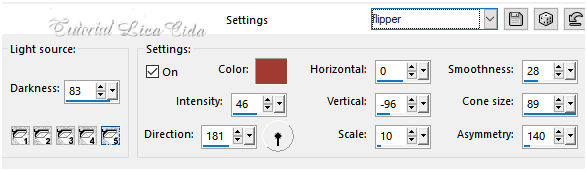
ao Plugin). Preset Illumination\Lights_flipper \ mp (
Guardar em sua pasta de Presets My PSP
Files). Tubes:
SuizaBella_Ref_AG-00746 \ 1353 - misted - LB
TUBES.
Decor:
Ildiko_create_deco (120) \ decor_nmcriacoes_55 \ decorlc1.
Mask:masque43-noisette.
Imagem: AbstractCurves- Cubism (8).
Brushes:Birds_Brushes_by_Esmeralda_stock_3.
(Agradeço)
Marca
D'água . Efeitos do PSP.
Versão usada PSPX8.
Plugins
Plugin
AbstractCurves\AbstractCurves.
Plugin Xero
Plugin
Simple
Plugin
Galaxy
Plugin
\AP [Line] Lines
Tutorial _Roteiro
Background: #082029 \
Foreground:#165a7f.
1-Abrir uma nova imagem transparente de 1000 x 700
.Preencher com
o
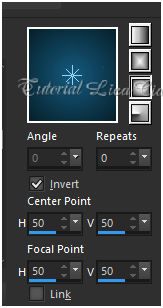
gradiente formado pelas cores acima. Configurar Sunburst .
Repeats 0. Invert marcado.
CP= H e V
\50 . FP=H e V \50.
 2-Select All. Edit Copy no tube 1353 -
misted - LB TUBES \ Edit Paste Into Selection . Selections\
Select none.
_Effects\ Image Effects\ Seamless Tiling:
Default.
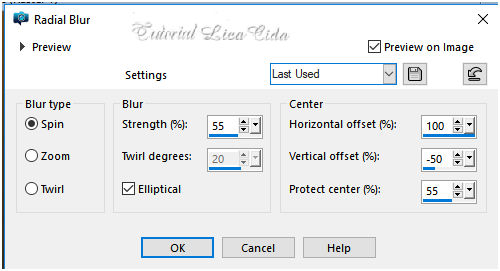
3-Adjust\ Blur\ Radial Blur.
 4- Plugin
Xero\Caravaggio...
 Layer Duplicate \ Image Mirror Horizontal.
Opacity 50%\ Blende Mode=Overley.
Layer\
Merge\ Merge
Dow. _Adjust\ Add/ Remove Noise \ JPEG
Artifactal Removal... ( Maximum\ C=82) .
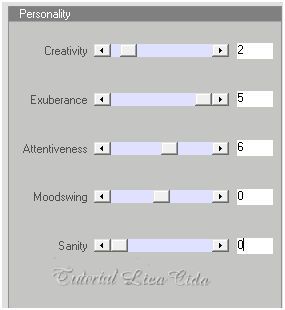
Plugin FMTT\ Blend
Emboss. 5-Nova Layer.
Preencher com o mesmo gradiente
formado no ítem 1.
_É necessatio usar o
gradiente!
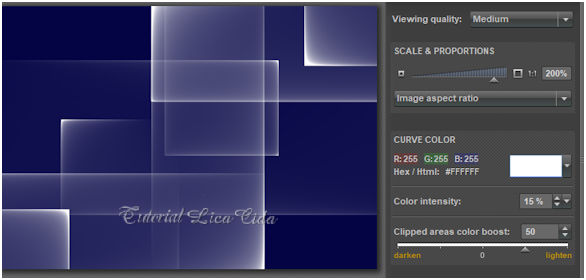
Plugin AbstractCurves\ Cubism
(8)
( caso queira instalar o plugin ,
encontra-se no tutorial Abstract Curves )
http://www.arteempsplicacida.meumundonopsp.com/tutoriais8/top_abstractcurves/top_abstract_curves.htm
 Usar em Hex \ Html:
#FFFFFF.
( o efeito está anexado nos materiais
)
 _Effects\ Image Effects\ Seamless
Tiling: Default.
6- Plugin Simple\
Blints.
Repetir.
_Effects \Reflection
Effects \ Rotating Mirror . H = 0 \
R= 180 \ Repeat.
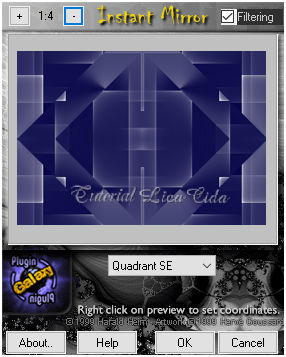
7- Plugin Galaxy \ Instant
Mirror.
 8-Seleção Personalizada (
tecleS)
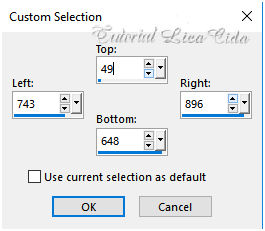 _ Promote Selection to
Layer.
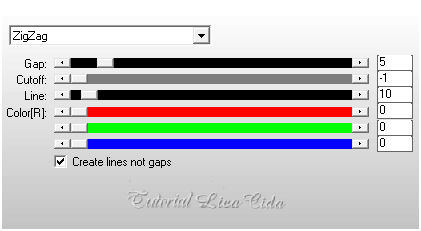
9-Plugin \AP [Line] Lines \
SilverLining.
 Selections\ Select
none.
_Effects\3D Effects\ Drop Shadow. -12\ -2\
76\ 48,89 . (Color=#000000).
_Effects \Reflection
Effects \ Rotating Mirror . H = 0 \ Ra= 0
\
Repeat.
10-Edit Copy no decolc1 \ Paste
As New Layer.
Blend Mode=
Luminance(L).
11-Ativar a raster2.
Nova layer.
Select All. Edit Copy no
Ildiko_create_deco (120) \ Edit Paste Into Selection . Selections\
Select none.
Blend Mode= Luminance.
12- Ativar a layer Promoted
Selection.
Edit Copy no 1353 - misted - LB
TUBES \ Paste As New Layer.
Resize 80\%.
Adjust\ Sharpness\ Sharpen
More. 13-Edit Copy
no Birds_Brushes_by_Esmeralda_stock_3 \ Paste As New Layer.
Posicione.
14-Aplicar na raster2 e
Raster4.
Effects\ Illumination Effects\ Preset
Illumination\ Lights\ flipper.
 layers \ blends\
opacitys
( use de acordo com as cores\ a gosto
)
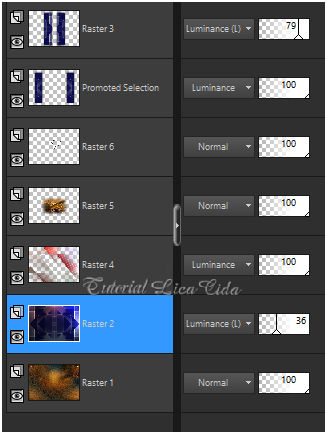 15- Ativar a layer
superior _ raster3.
Nova layer.
Preencher color #ffffff. Usar
no background.
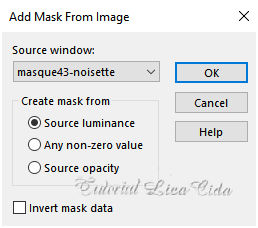
Aplicar a
masque-43-noisete.
 Layer\Merge \Group.
Adjust\ Sharpness\ Sharpen
More.
Blend Mode=
Luminance(L).
16-Edit Copy
no decor_nmcriacoes_55 \ Paste As New Layer.
Mirror\ Posicione como
modelo.
Blend Mode=
Luminance(L).
Layer\ Merge Visible.
17- Seleção Personalizada ( tecleS
).
 Nova
layer.
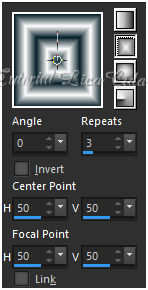
Preencher com o
gradiente formado pelas cores usadas no foreground (#082029) e a do
background que vc mudou ( #ffffff ).
Configurar:
Rectangular\ A=0 e Repeats =3.Invert desmarcado. CP=H e V=50. FP= H e V
=50.
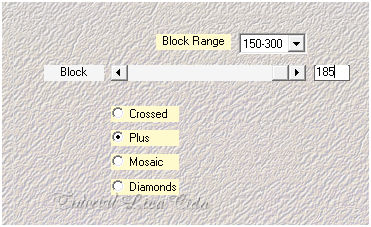
 18-Plugin Mehdi \ Sorting
Tiles...
 19-Plugin Alien Skin Eye Candy 5:
Impact\ Glass... Settings rouded
.
Effects\ Edge Effects\ Enhance
.
Selections\ Select
none.
Layer Duplicate. Image\ Mirror
Horizontal.
Layer Duplicate.m
Effects\ Image Effects\ Seamless
Tiling: Default.
Layer Duplicate. Image\ Mirror
Vertical.
Layer\ Merge Down _aplicar duas
vezes.
Blend Mode= Luminance \
Opacity 60%.
20-Edit Copy
no SuizaBella_Ref_AG-00746 \ Paste As New Layer.
Mirror\ Resize e posicionamento a
gosto. Borda a gosto.
Image\ Resize : Width 1000
pxls.
Aplicar a Marca D'agua.
Assine e
salve. Aparecida \ licacida , junho de 2019.
Espero que gostem.
Obrigada
  |