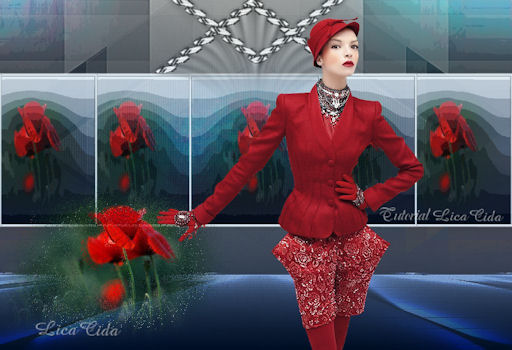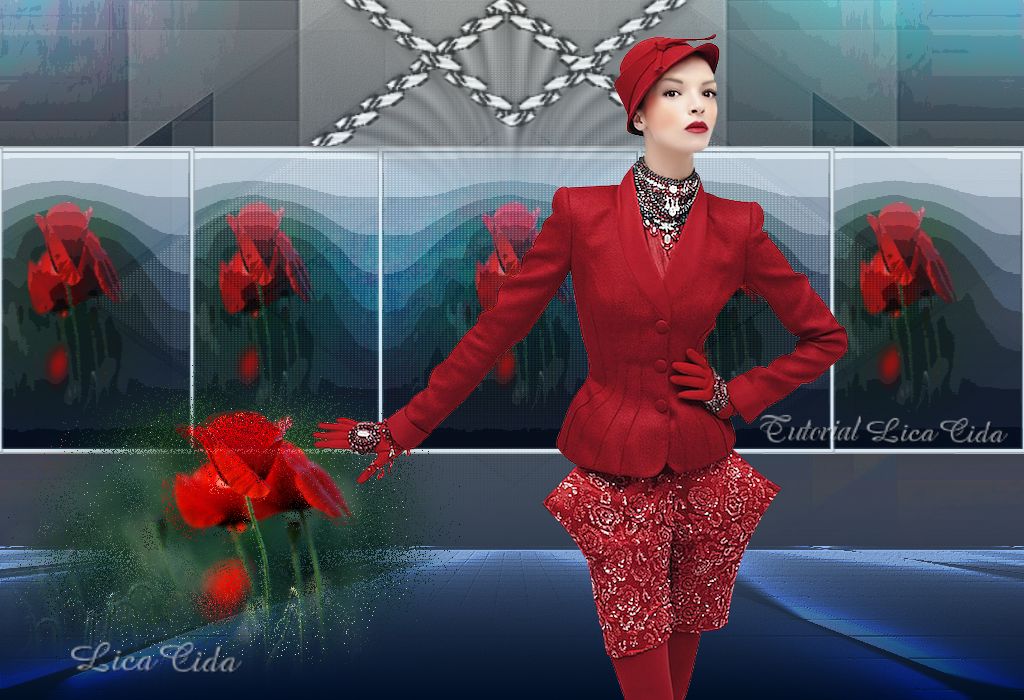
Tutorial "Narah"
Preset
Illumination/Lights/Narah_Luces (guardar em sua pasta de Presets My PSP
Files).
*Obrigada
Narah pelo Preset cedido .
Mask: Narah_mask_0201
Mask Gradiente
Tubes: calguismistcoquelicotDanae03102011\calguismistcoquelicot17119
Tocha23922
Elemento:
attache_fairymist
Marca
D'água.
Efeitos do
PSP.
Versão usada
PSPX5.
Plugins
Plugin Toadies _ What are
you?
Plugin Toadies_
Posterize
Plugin Toadies Ommadawn
Plugin FMTT / Blend
Emboss
Plugin MuRa's Meister/ Copies
Plugin MuRa's Meister/ Perspective Tiling
Roteiro
1-Abrir uma nova imagem transparente de
1024 x 600.
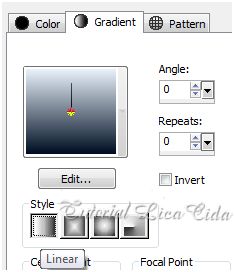
Pintar com o gradiente formado pelas
cores: #000e23 e #e8f1fa . Configurar Linear : Angle0 / Repeats 0. Invert
desmarcado.
2-Layers / New Raster Layer
.
_Select all / Edit Copy no tube
calguismistcoquelicotDanae03102011 / Edit Paste Into Selection /
Selections / Select none.
_Effects/ Image Effects/ Seamless
Tiling_Default.
_Plugin Toadies / What are you?
_Default.
_Plugin Toadies/ Posterize
_Default.
3-Layers
/ New Raster Layer .
_Pintar com a cor #000e23 .
Aplicar a Mask: Narah_mask_0201 .
Layer / Merge / Merge Group. Opacity 81%.
_Adjust / Add/ Remove Noise/ JPEG Artifact
Removal.
_Plugin FMTT / Blend Emboss
_Default.
_ Layers/Merge/Merge
Visible.
4-Layers / New Raster Layer
.
_Ativar a
ferramenta Selection /Rectangle . Ou tecla S.
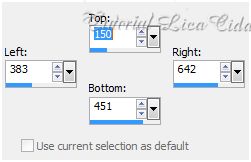
Em Custom selection configurar
:
Top: 150/ Left: 383/ Right: 642/
Bottom:451.
_ Pintar com o mesmo
gradiente formado no ítem 1.
_Edit Copy no
tube calguismistcoquelicot17119 / Edit Paste Into
Selection.
_Selections / Modify
/ Select Selection Borders.
_Layers / New Raster Layer . Pintar com a
cor #e8f1fa.
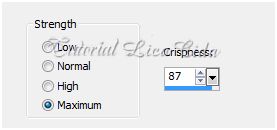
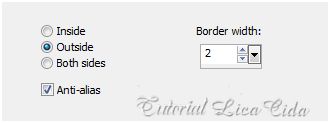
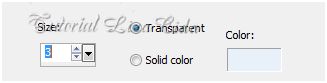
_Effects / 3D Effects /
Chisel.
3 / Transparent / Color= #e8f1fa ( cor
clara usada para formar o gradiente ).
_Selections / Select none. Layers/Merge/Merge
Down.
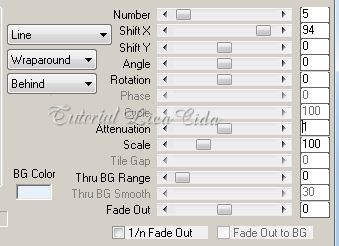
_Plugin
MuRa's Meister / Copies: Line
_Plugin Toadies/ Posterize _Default.
5_ Ativar a Layers
Merged .
_Aplicar a
Mask Gradiente . Layer / Merge / Merge
Group.
_Image /Canvas Size _1024 x 700 _Bottom
100.
6_Layers / New Raster Layer.
_Arrange/Send to Botton. Pintar com o mesmo gradiente
formado no ítem 1.
7_Layers/ Duplicate.
Plugin Toadies Ommadawn _ Default.
_Effects
/Illumination Effects / Preset
Illumination/Lights/Narah_Luces.
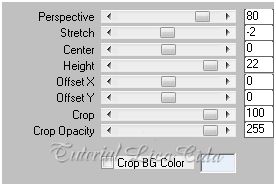
_Plugin MuRa's Meister/
Perspective Tiling.
_Adjust / Add/ Remove
Noise/ JPEG Artifact Removal.
_Plugin FMTT / Blend Emboss _Default.
8_ Ativar a Raster
1.
_Edit Copy no
Elemento attache_fairymist / Edit / Paste As New Layer.
( preparado para esse
tutorial ) Posicione como tutorial.
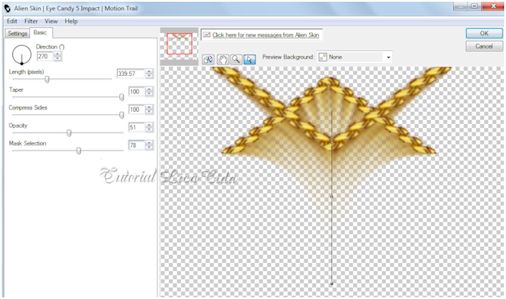
_
Plugin Alien Skin / Eye Candy 5 Impact /Motion Trail
.
D=270 \
L=339.57 \ T=100 \ CS=100 \ O=51 \
MS=78
_Effects
/Edge Effects
/Enhance.
Observação:
LAYERS
Raster3 /
Blend Mode= Luminance ( L ). Opacity 100%.
Raster1/
Blend Mode=Hardy Ligth . Opacity (( 85 a 90
%)).
Group-Merged/ Blend Mode=Difference .
Opacity (( 60 a 65%)).
Copy of Raster 2
/ Blende Mode= Dodge . Opacity (( 65 a
70%)).
Raster2 / Sem
alteração.

Raster 3
ativada:
9_Edit Copy no tube
calguismistcoquelicot17119 . Edit / Paste As New Layer.
_Resize 80%.
Repetir Resize 80%. Posicione .
_ Layers/
Duplicate .
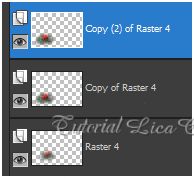
10- Voltar a ativar a
Raster 4.
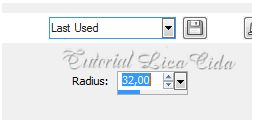
_ Adjust / Blur/ Gaussian Blur : 32
__Blend Mode= Dissolve. Opacity 18%.
Diminuir
essa imagem em 80%.
11-Voltar a ativar a
Copy of Raster 4.
_Layers/ Duplicate
. Blend Mode = Dissolve. Opacity 100%.
12-Edit Copy no
tube Tocha23922 . Edit / Paste As New Layer.
Resize e
posicionamento .
Assine salve.
Obs: Faça o acabamento
do seu Top.
Espero que gostem.
Aparecida / Licacida, em novembro de 2012.
Rio de Janeiro_Brasil